
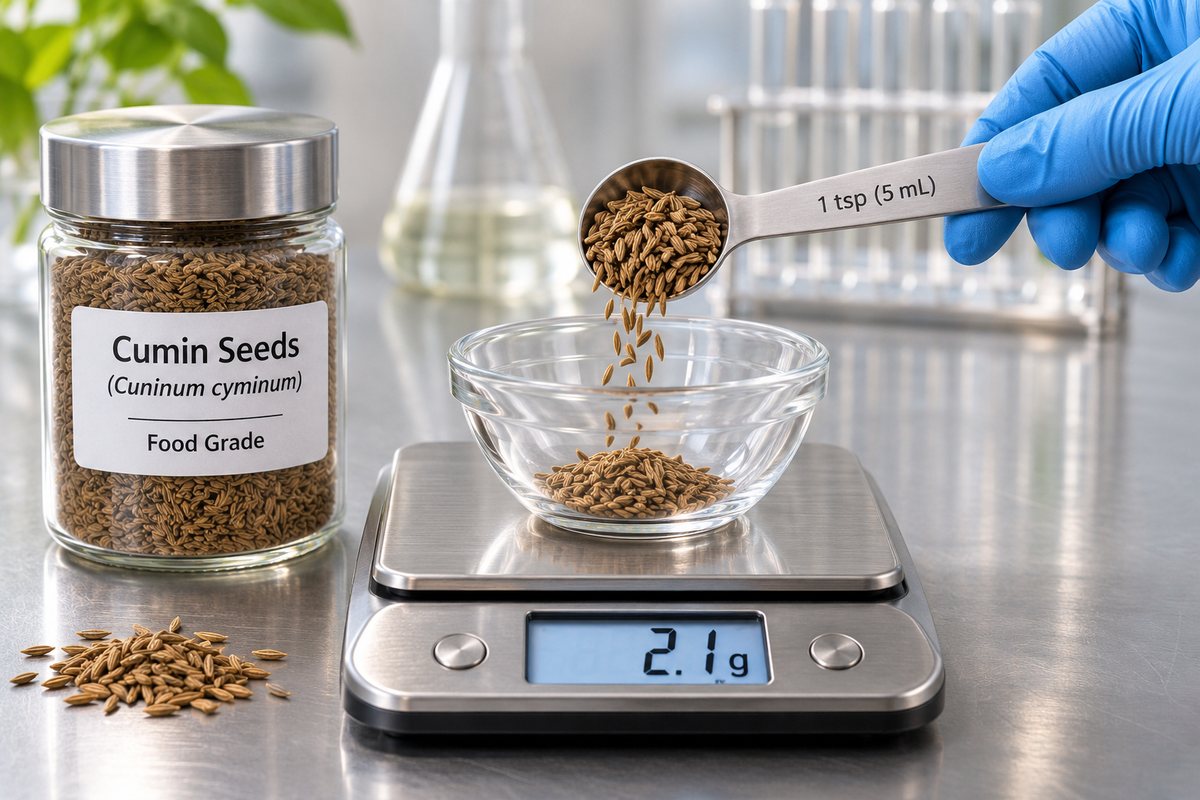
Cumin seeds
जीराزیرہ
jīrā · zīra
Thin, ridged, brown seeds sold whole. Look for “cumin seeds” or “jeera.”
Its job: The first flavor in the pan: an earthy, warm aroma that the oil carries through the whole dish.
Bhuna masala · भुना मसाला · بھنا مصالحہ
Cumin in hot oil, then onions, then ginger-garlic paste, then salt, red chili and turmeric, then tomatoes, with garam masala to finish. Learn this one sequence and you can cook a large share of everyday North Indian and Pakistani curries. Here’s what each step does, and why the order matters.
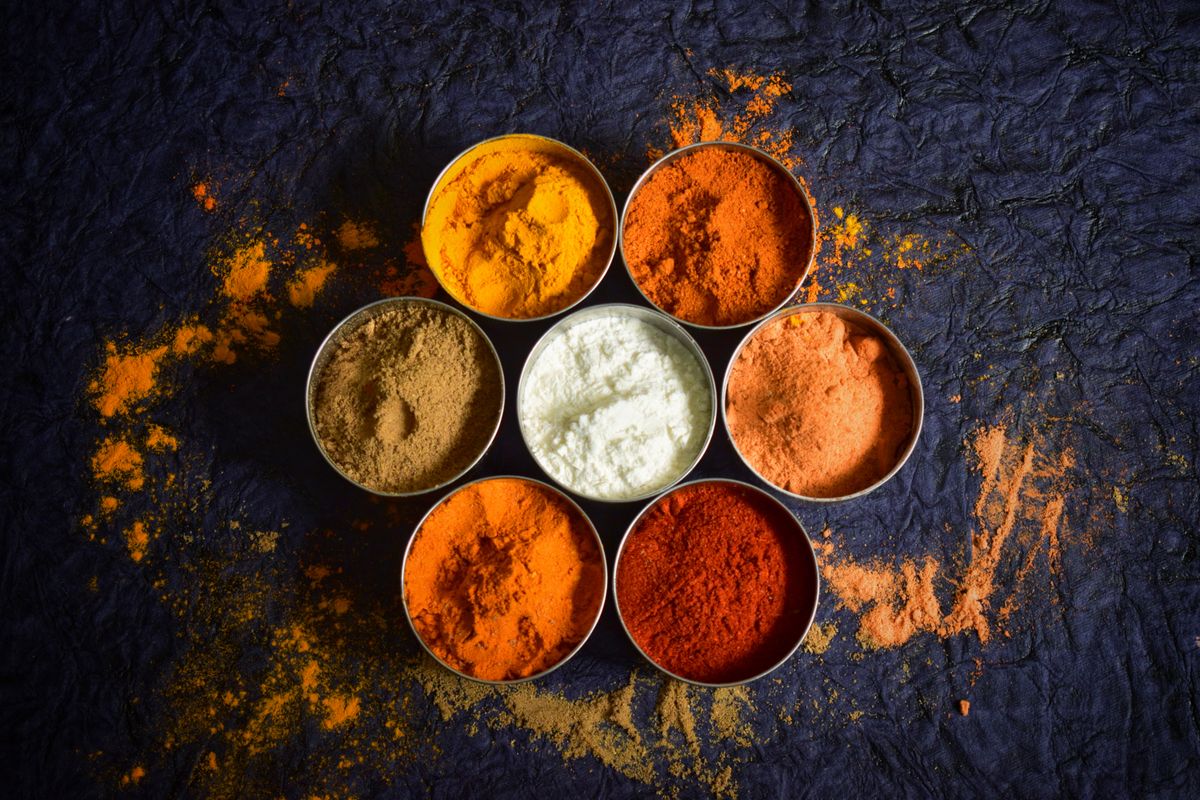
Photo: Pexels
Walk into almost any North Indian or Pakistani home kitchen and the curry will start the same way. Cooks call it the masala, the bhuna masala (भुना मसाला · بھنا مصالحہ, “well-fried spice base”) or simply the base: an onion, ginger-garlic, spice and tomato paste, cooked down until the oil separates. Whatever goes in next, whether chicken, keema, chickpeas, kidney beans, potatoes, paneer or mushrooms, takes its flavor from this base.
On this site, whenever a recipe says “the Indian base,” it means exactly the sequence below, in this order. Individual recipes may add to it, such as ground coriander, green chilies or yogurt, but the order stays the same.
Every ingredient in the base, with its English, Hindi and Urdu names and what to look for in the store, so anyone can shop for it.
Thin, ridged, brown seeds sold whole. Look for “cumin seeds” or “jeera.”
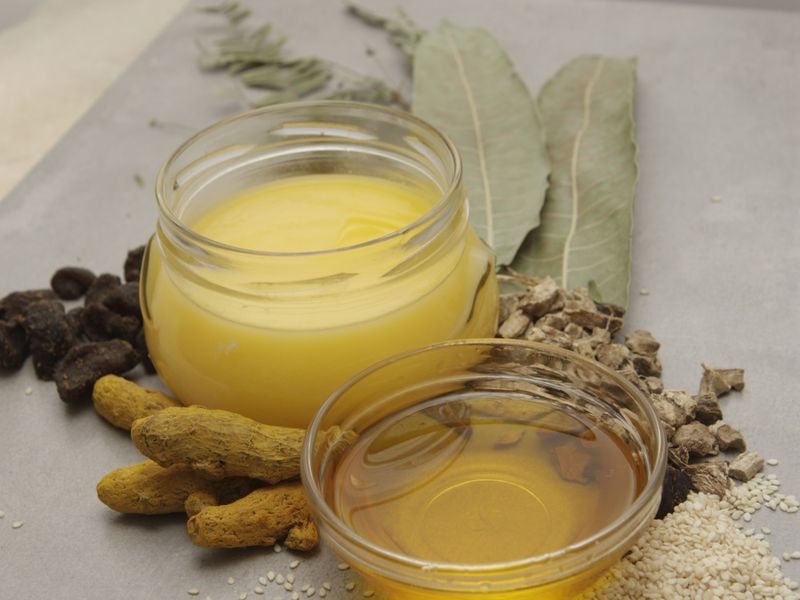
Any neutral oil (canola, sunflower, vegetable) or desi ghee (clarified butter).
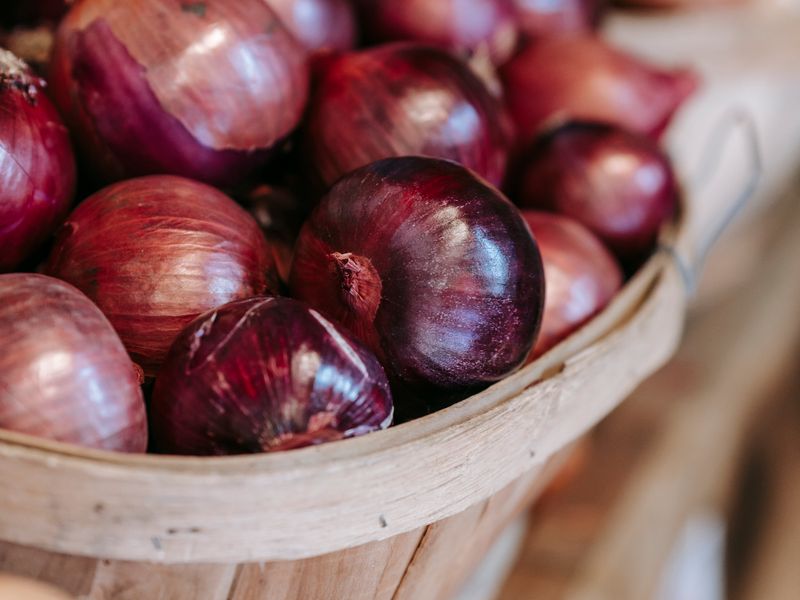
Red or yellow onions, finely chopped. About 2 large onions for a 4-serving curry.
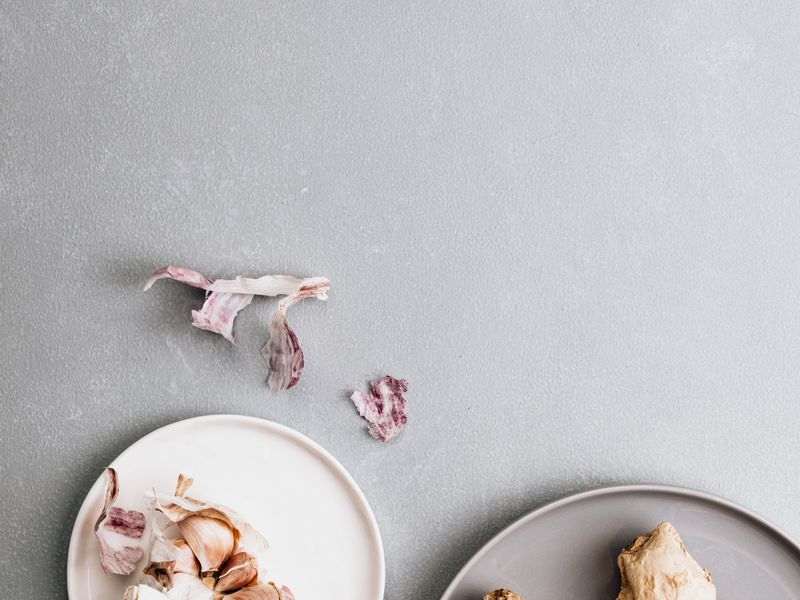
Fresh ginger and garlic ground together, or a store-bought jar labeled “ginger garlic paste.”
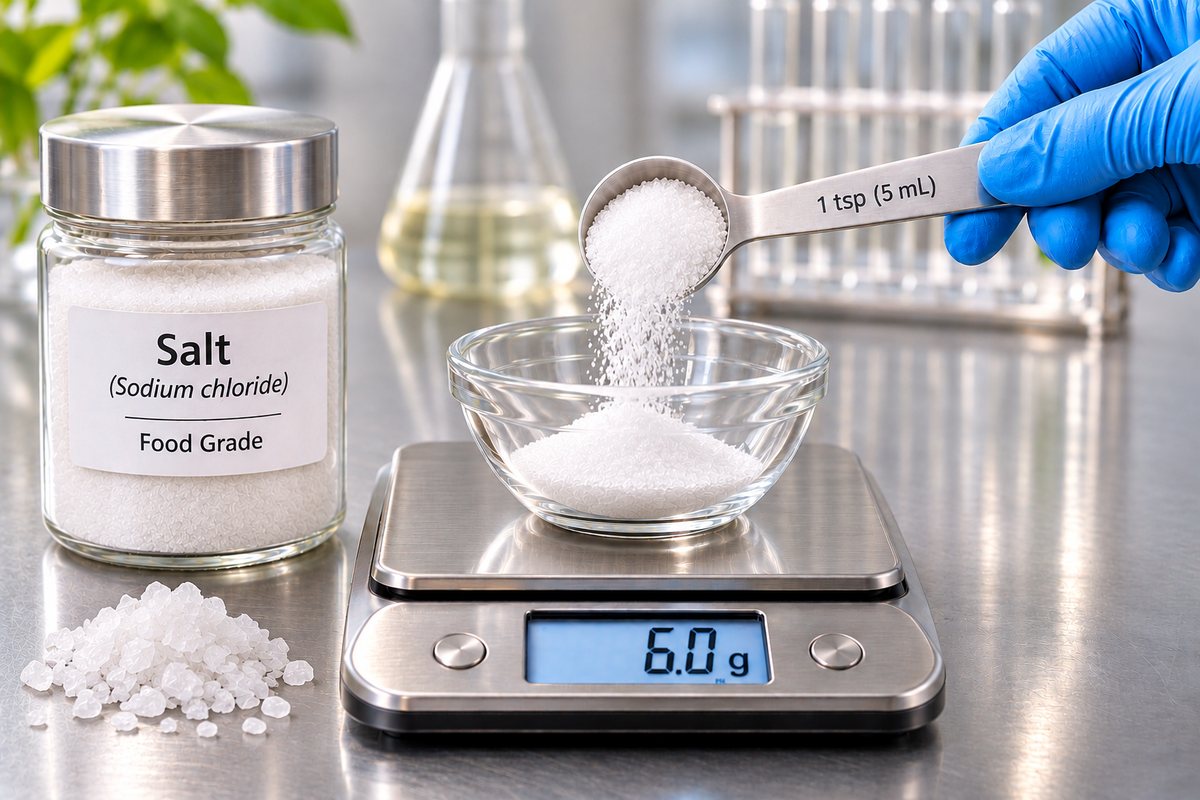
Regular table or sea salt.
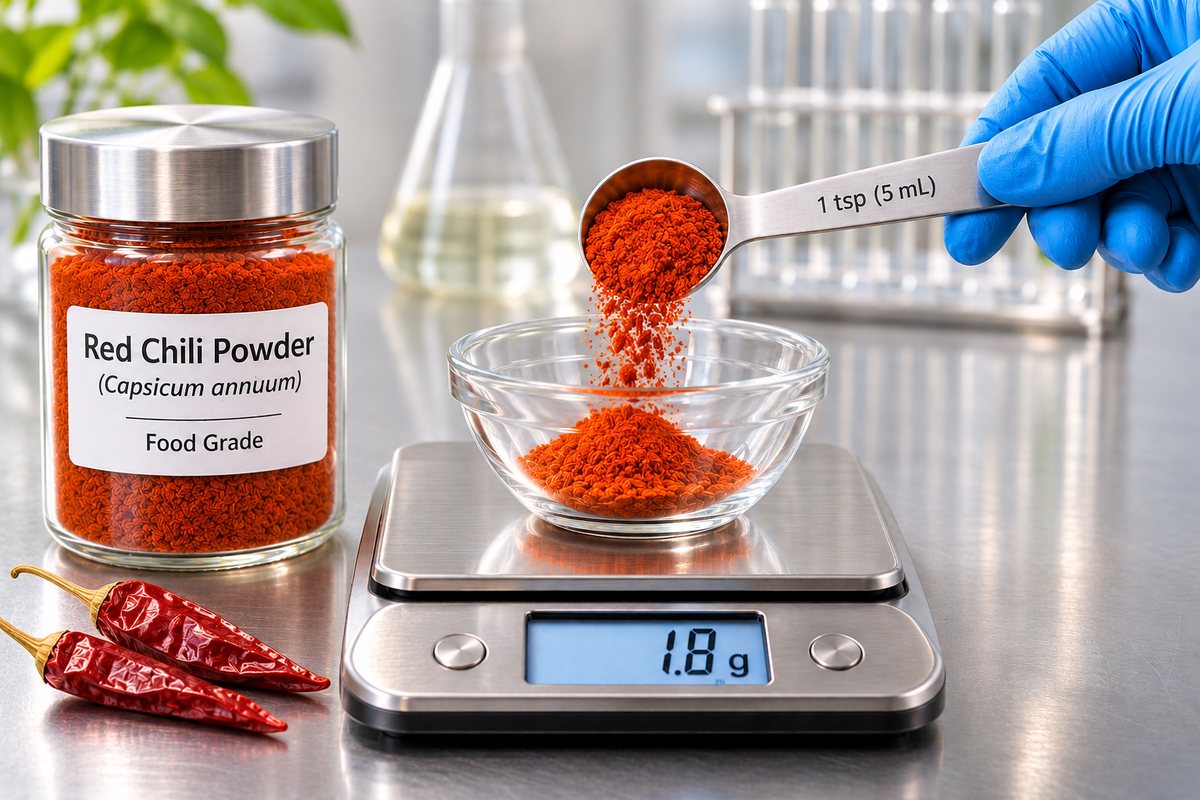
Ground dried red chilies. “Kashmiri chili powder” is mild and very red; plain “red chili powder” or “cayenne” is hotter.
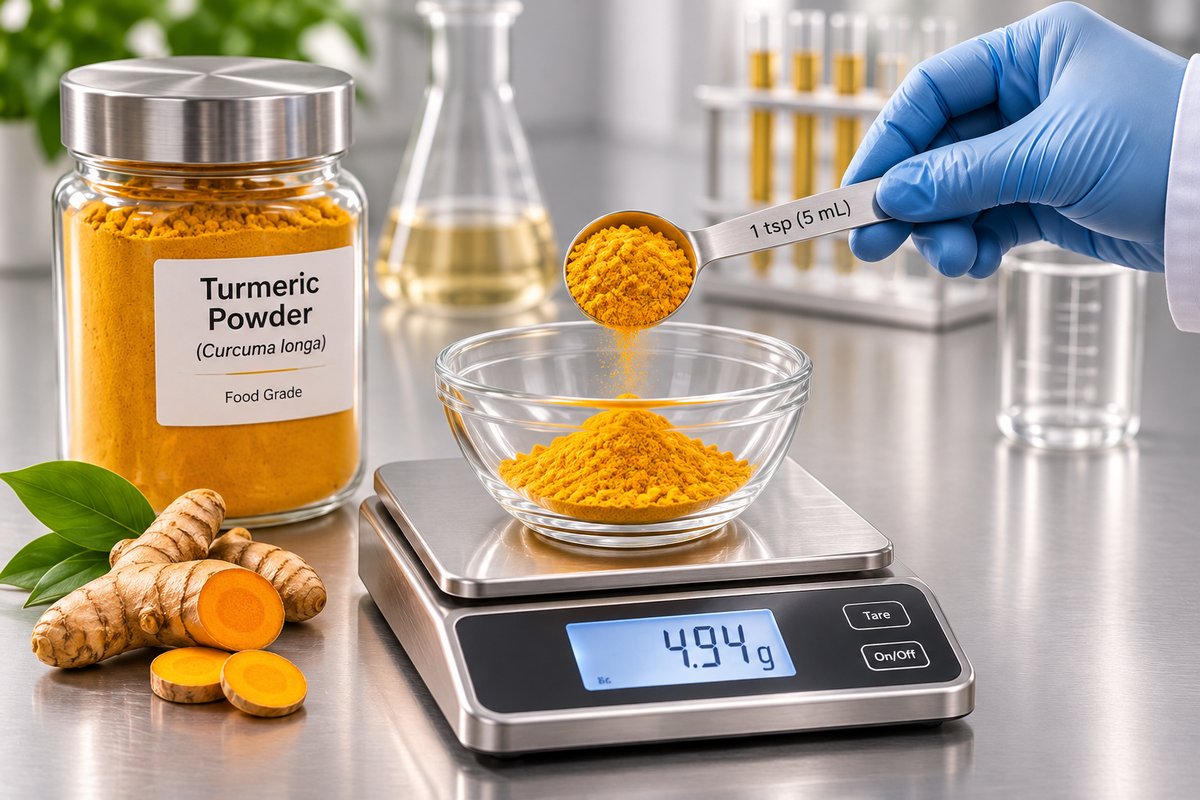
Bright yellow-orange ground root, sold as “turmeric powder” or “haldi.”
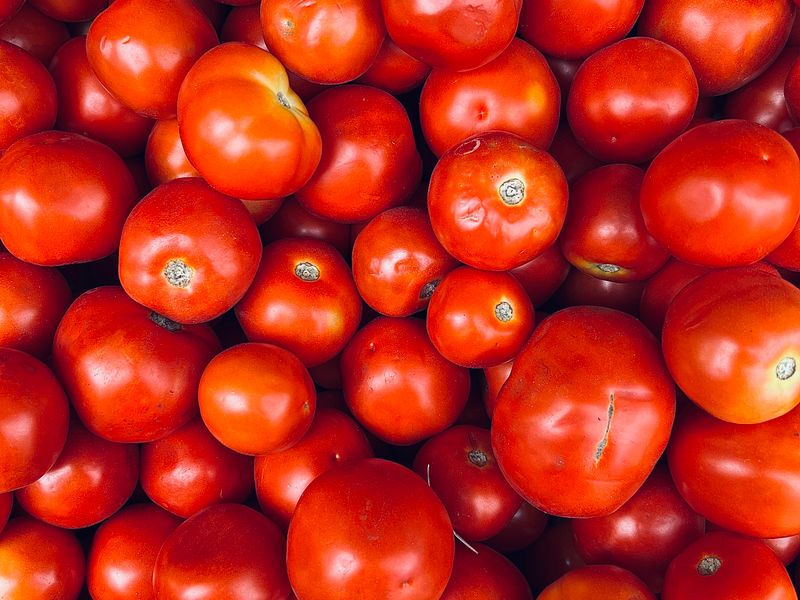
Ripe fresh tomatoes, pureed or finely chopped, or canned crushed tomatoes (see shortcuts).
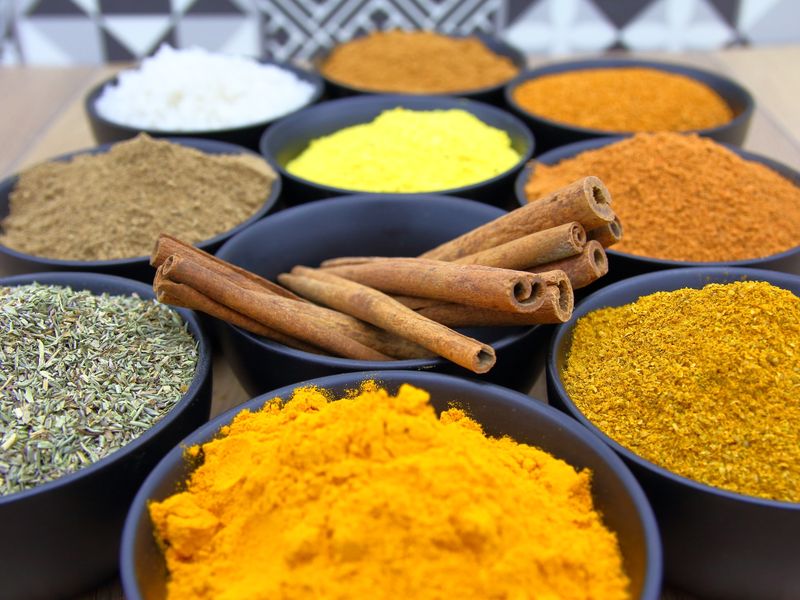
A ground blend of warming spices, usually including cinnamon, cardamom, cloves, black pepper and cumin. Sold ready-made as “garam masala.”
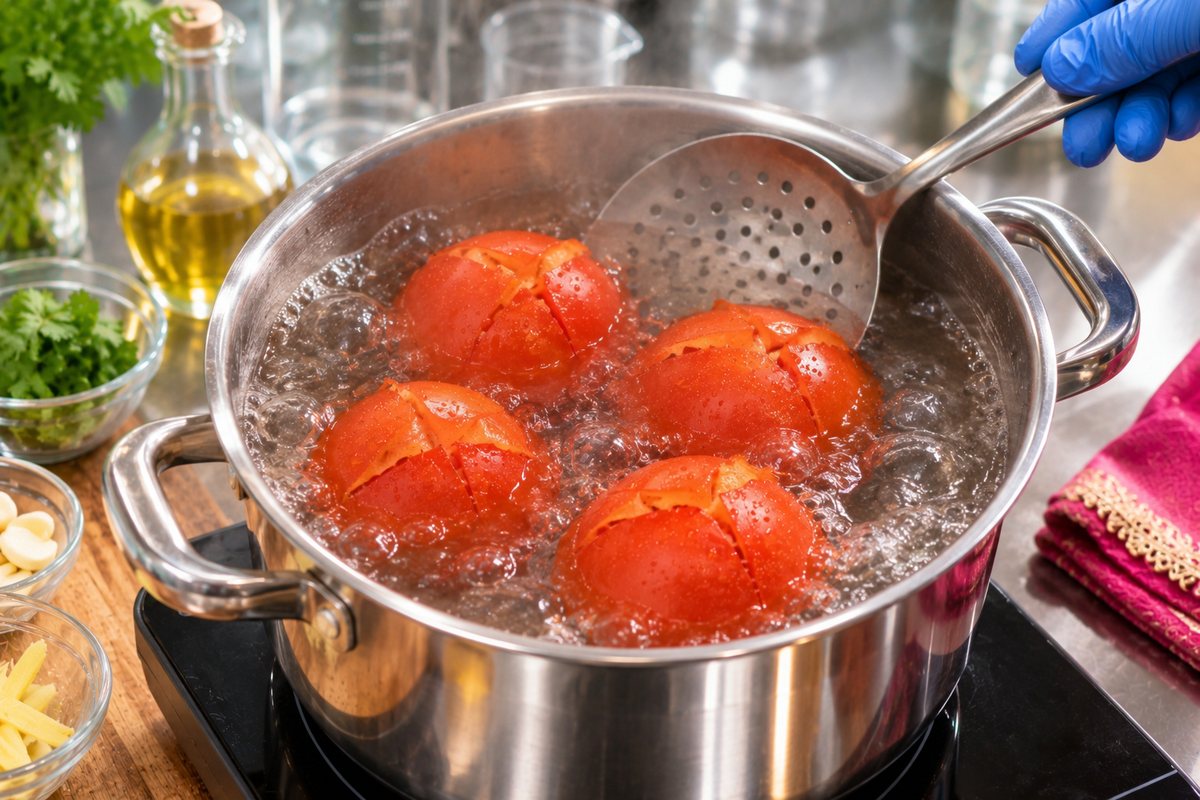
Score, blanch for 30–60 seconds, chill in ice water, and the skins slip right off. Peeled tomatoes cook into a smoother, silkier masala with no chewy flecks of skin.
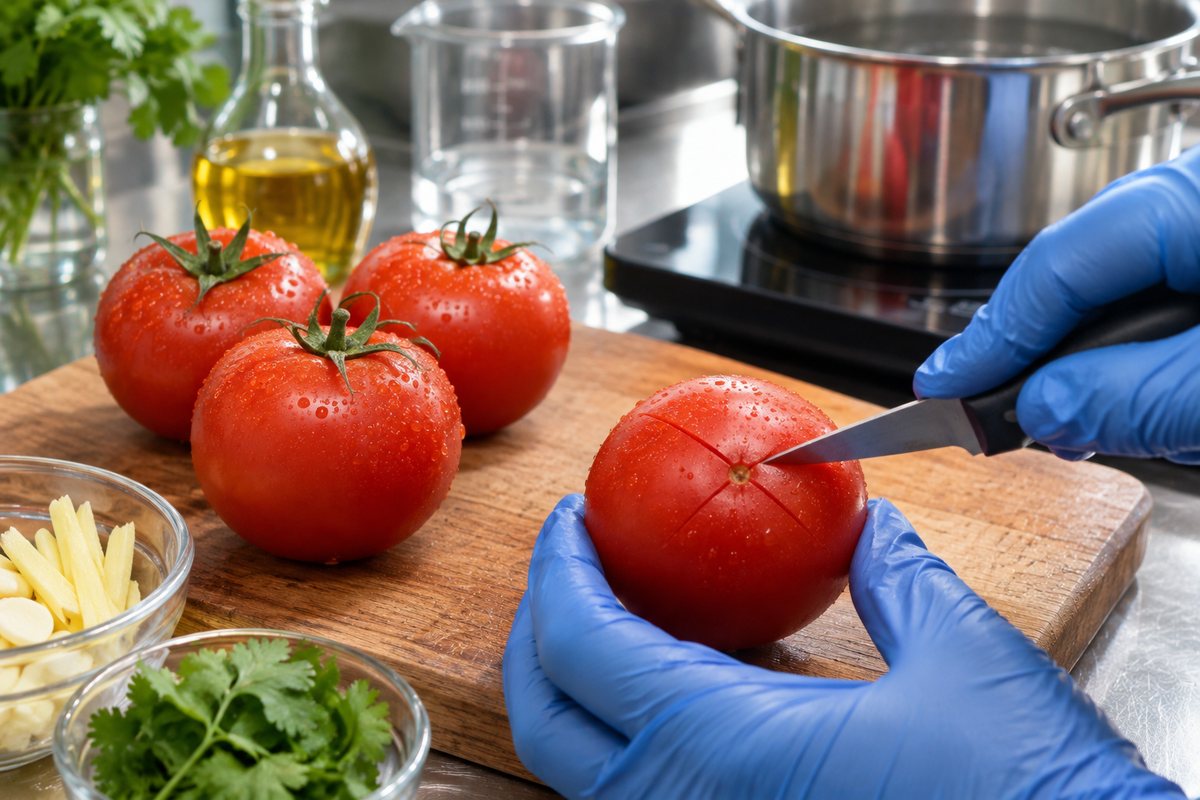
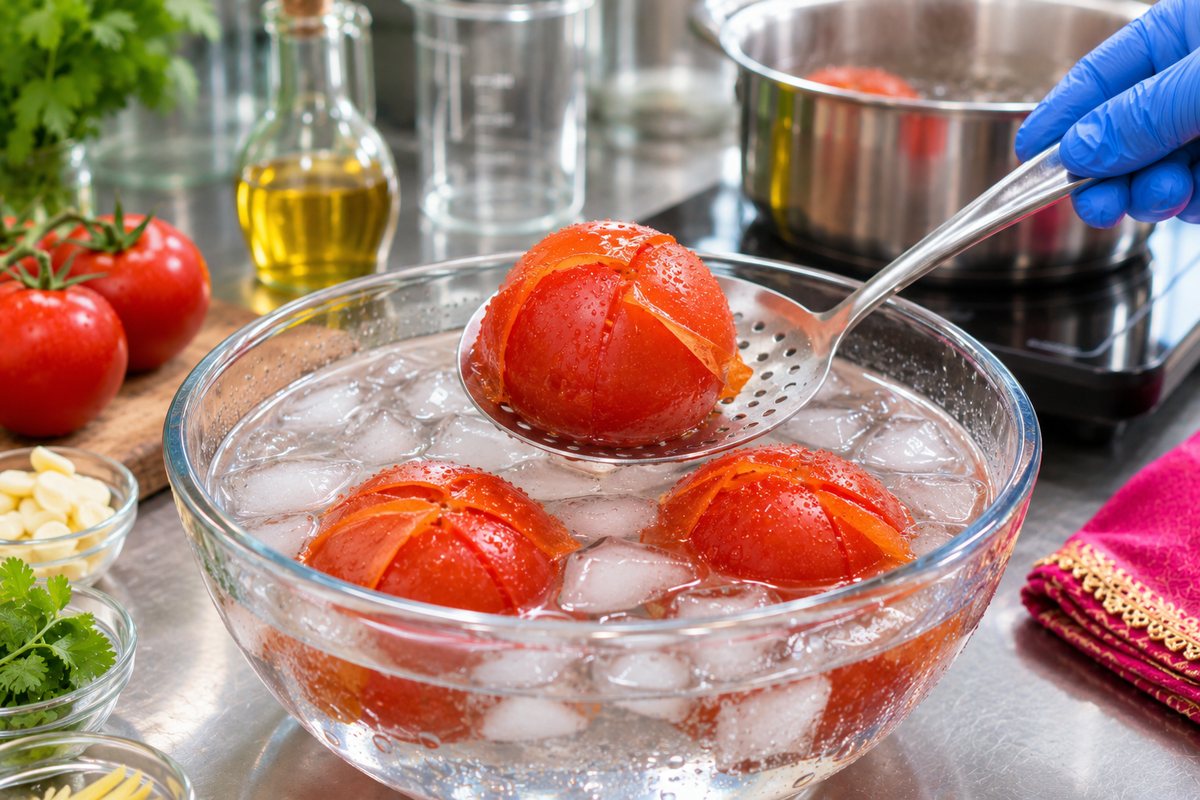
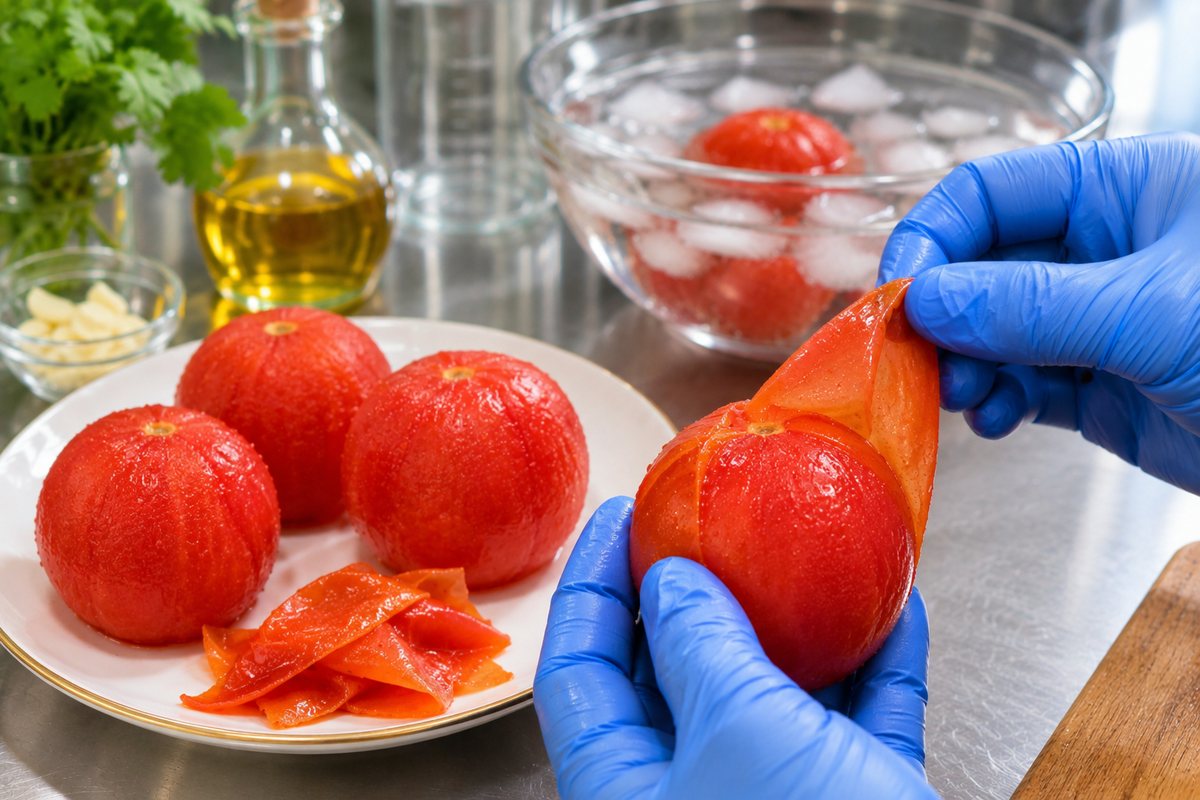
Tomato skin is a tough, waxy layer that doesn’t break down with cooking; in a long-cooked masala it curls into chewy flecks. The skin is also where almost all of a tomato’s flavonoids sit, mainly naringenin chalcone and rutin, the kind of plant compounds that can taste faintly bitter or astringent. Texture is the bigger, better-proven reason, but peeled tomatoes give the smoothest, cleanest-tasting gravy.
A short plunge heats only the outer layer. The heat weakens the pectin that glues the skin to the flesh, and steam forming underneath pushes the skin away, so it splits and curls back at the X while the flesh inside stays raw and firm.
Ice water stops the cooking at once, so the flesh doesn’t turn soft and mushy, and makes the tomatoes cool enough to peel right away. More than about a minute in the boiling water starts to cook the flesh.
Sources: National Center for Home Food Preservation: Put It Up! Boiling Water Canning · Muir et al., Nature Biotechnology (2001): flavonoids in tomato peel
Each step sets up the next one. Here’s what is happening in the pan at every stage, and why the tomatoes and garam masala come where they do.
Sizzle whole cumin seeds in the hot oil before anything else.
Cumin’s aroma comes from essential oils that dissolve in fat. Frying the whole seeds first releases those compounds into the oil, and that oil then coats every ingredient that follows, so the flavor reaches the whole dish. Whole seeds can take a short blast of hot oil; ground cumin would scorch in seconds, which is why ground spices come later.
Cook the onions for 12–15 minutes, until deep golden.
Onions are mostly water. While that water is evaporating, the pan stays near water’s boiling point, 212°F (100°C), and very little browning happens. Once the surface dries, the temperature climbs and two reactions take over: caramelization of the onions’ sugars and the Maillard reaction between sugars and proteins. Together they create the sweet, savory, roasted flavors that make a curry taste deep rather than raw. Rushing this step is the most common reason a homemade curry tastes flat.
Add the paste once the onions are golden, and cook it for just 1–2 minutes.
Garlic has less water and more natural sugar than onion, so it browns much faster and turns bitter and acrid if it scorches. Added at the start, it would be burnt long before the onions finished browning. Added after, it cooks just long enough to lose its raw, sharp bite, and the moisture in the paste cools the pan slightly, which protects the spices that come next.
Stir the salt, red chili powder and turmeric into the onions for under a minute.
Turmeric’s color compound, curcumin, and chili’s heat compound, capsaicin, both dissolve in fat far better than in water, so a short fry in the oil is what draws their color and flavor out and cooks off turmeric’s raw, dusty taste. Ground spices are fine particles that burn quickly, which is why they go in when the onions and paste are already in the pan to shield them, and only briefly. Salt added here seasons the base from the inside and draws remaining moisture out of the onions so they melt into the masala.
Add the tomatoes only after the onions are browned and the spices have bloomed.
There are three reasons. First, tomatoes are mostly water: as soon as they go in, the pan drops back to about 212°F (100°C) and browning stops, so anything you want browned has to happen before. Second, acid slows the breakdown of the pectin that holds onion cells together, so onions added to tomatoes stay firm and crunchy instead of melting into the gravy. Third, the tomatoes’ moisture is what stops the ground spices from scorching, and it dissolves the browned bits stuck to the pan back into the sauce.
Cook the tomatoes down until the paste thickens and oil pools around the edges.
At first the tomato water and the oil are mixed together. As the water evaporates, there isn’t enough of it left to keep the oil dispersed, so the oil seeps out to the edges. That’s a visible sign the tomatoes have lost their raw, sharp taste, their sugars and savory compounds have concentrated, and the base is ready for the next ingredient. This is what “bhuna” (well-fried) means.
Stir in the garam masala once the base is cooked down, not with the other ground spices.
Garam masala’s warm aroma comes from the essential oils in spices like cinnamon, cardamom and cloves, and those compounds are volatile: the longer they cook, the more of them escape into the air. Turmeric and chili need time in the oil to bloom; garam masala needs only a moment. Added at the end of the base, it perfumes the dish instead of cooking off. If a curry then simmers for a long time, a small extra pinch just before serving brings the aroma back.
No time to chop and grind? These swaps get you to the same base faster. Each one notes what to buy, with its English, Hindi and Urdu names, and what changes.
What to buy: A jar of “ginger garlic paste” (अदरक लहसुन पेस्ट · ادرک لہسن پیسٹ) from a Desi grocery store or the international aisle, or frozen ginger and garlic cubes.
How to use it: Use the same amount the recipe calls for. 1 tbsp of paste is roughly ½ inch of ginger plus 2–3 garlic cloves.
What changes: Jarred pastes usually contain salt and an acid such as citric acid or vinegar as preservatives, so they taste a little sharper. Fry the paste a minute longer, and taste before adding all the salt.
What to buy: Bags of “fried onions” or “birista” (तली हुई प्याज़ · تلی ہوئی پیاز, talī huī pyāz) in Desi grocery stores, or crispy fried onions from a regular supermarket.
How to use it: About 1 cup lightly crushed replaces 2 large onions. Add them after the cumin with ¼ cup water, stir for 1–2 minutes until soft, then continue with the ginger-garlic paste. Skip the 12–15 minutes of browning.
What changes: They’re already browned, so the flavor is there; the gravy is slightly less sweet and smooth. They’re fried in oil and often salted, so use a little less oil and salt.
What to buy: Bags of frozen “diced” or “chopped onions” in the freezer aisle.
How to use it: Use the same amount by volume. Add straight from frozen over medium-high heat and cook until the released water evaporates, then lower the heat and brown as usual.
What changes: Freezing ruptures the onion’s cells, so they release water fast and soften quickly. You save the chopping, not the browning: they still need to turn golden for flavor.
What to buy: Cans labeled “crushed tomatoes” or “tomato puree” (टमाटर प्यूरी · ٹماٹر پیوری).
How to use it: One 14.5-oz (411 g) can replaces about 3 medium tomatoes. No boiling, peeling or blending needed.
What changes: Avoid canned “diced” tomatoes for a base: they’re usually treated with calcium chloride, which keeps the pieces firm so they never melt into a smooth gravy. Canned tomatoes also contain a little citric acid, so they’re slightly tangier.
What to buy: A can or tube of “tomato paste” (concentrated tomato).
How to use it: 2 tbsp tomato paste plus ½ cup water replaces about 2 medium tomatoes. Fry the paste for a minute before adding the water.
What changes: Paste is already cooked down, so it reaches the “oil separates” stage much faster. Frying it briefly deepens its flavor.
What to buy: A jar of “ground cumin” or “cumin powder” (जीरा पाउडर · زیرہ پاؤڈر).
How to use it: Use ½ tsp ground cumin for 1 tsp seeds, and add it with the red chili and turmeric instead of at the start.
What changes: Ground cumin would scorch in plain hot oil, so it goes in once the onions are in the pan. You lose the toasty pop of whole seeds, but keep the flavor.
What to buy: Make a triple batch of the base on a weekend.
How to use it: Cool it, freeze it in portions (ice-cube trays or flat freezer bags) and use one portion per curry. It keeps its best quality for about 2–3 months in the freezer.
What changes: Freezing stops flavor loss and spoilage. A frozen portion goes straight into a hot pan; add your main ingredient once it’s bubbling.
What to buy: Any Instant Pot or electric pressure cooker with a Sauté function.
How to use it: Make the base on Sauté (More/High). Before pressure cooking, add a splash of water and scrape the bottom clean so the pot doesn’t show a “Burn” warning.
What changes: The steps and the science are the same. The narrow pot browns more slowly, so stir often and give the onions a few extra minutes.