Chana dal
चना दालچنے کی دال
chanā dāl
Split, skinned desi chickpeas; not the same as yellow split peas.
Its job: The dal itself.
Also called Chholeyan di Daal · Chane ki Daal · चना दाल · چنے کی دال
Split desi chickpeas pressure-cooked until creamy but whole, then finished with a ghee tadka of cumin, onion, ginger-garlic, tomato and garam masala.
Chana dal (chholeyan di daal) is split, skinned desi chickpeas cooked until creamy but whole and finished with a cumin, onion, ginger-garlic and tomato tadka. In the Instant Pot it takes 10 minutes under pressure.
 From the MedRise Food Science kitchenPublished
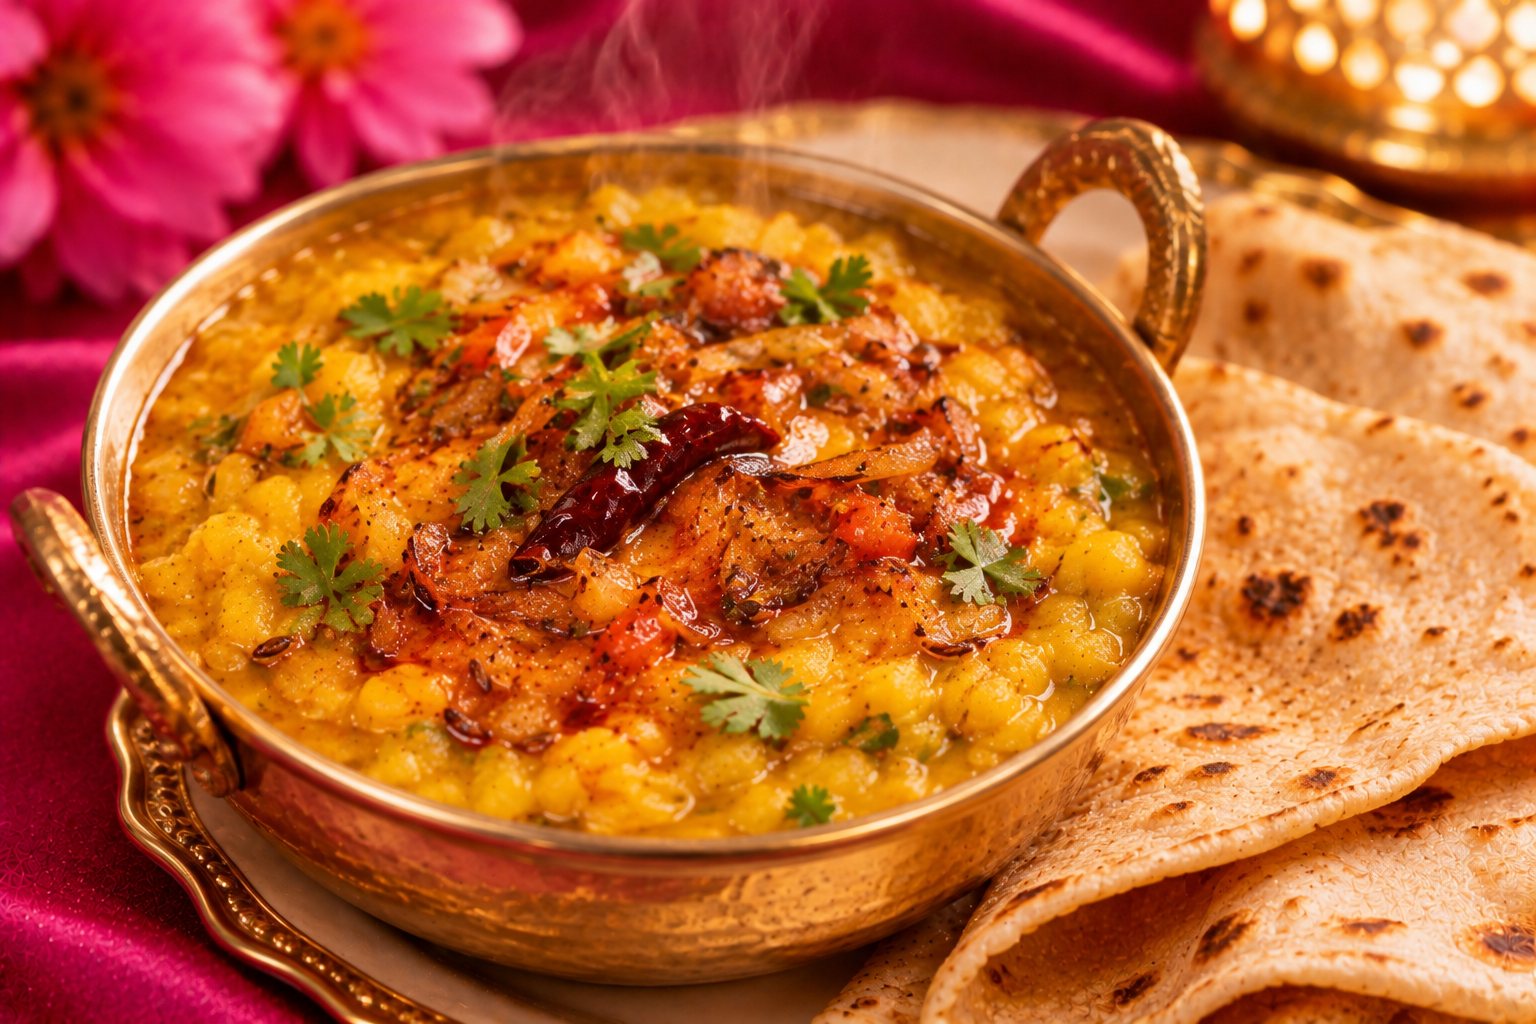
Chana dal is split, skinned desi chickpeas, the small, dark-skinned cousin of the big white chickpeas used in chole. In Punjabi homes it’s often called chholeyan di daal (ਛੋਲਿਆਂ ਦੀ ਦਾਲ). It cooks up nutty and slightly sweet, and holds its shape better than most dals.
This version cooks the dal in the Instant Pot and finishes it with the classic Indian base as the tadka. Serve it with missi roti, plain roti or rice.
The main ingredients, with their English, Hindi and Urdu names.
Split, skinned desi chickpeas; not the same as yellow split peas.
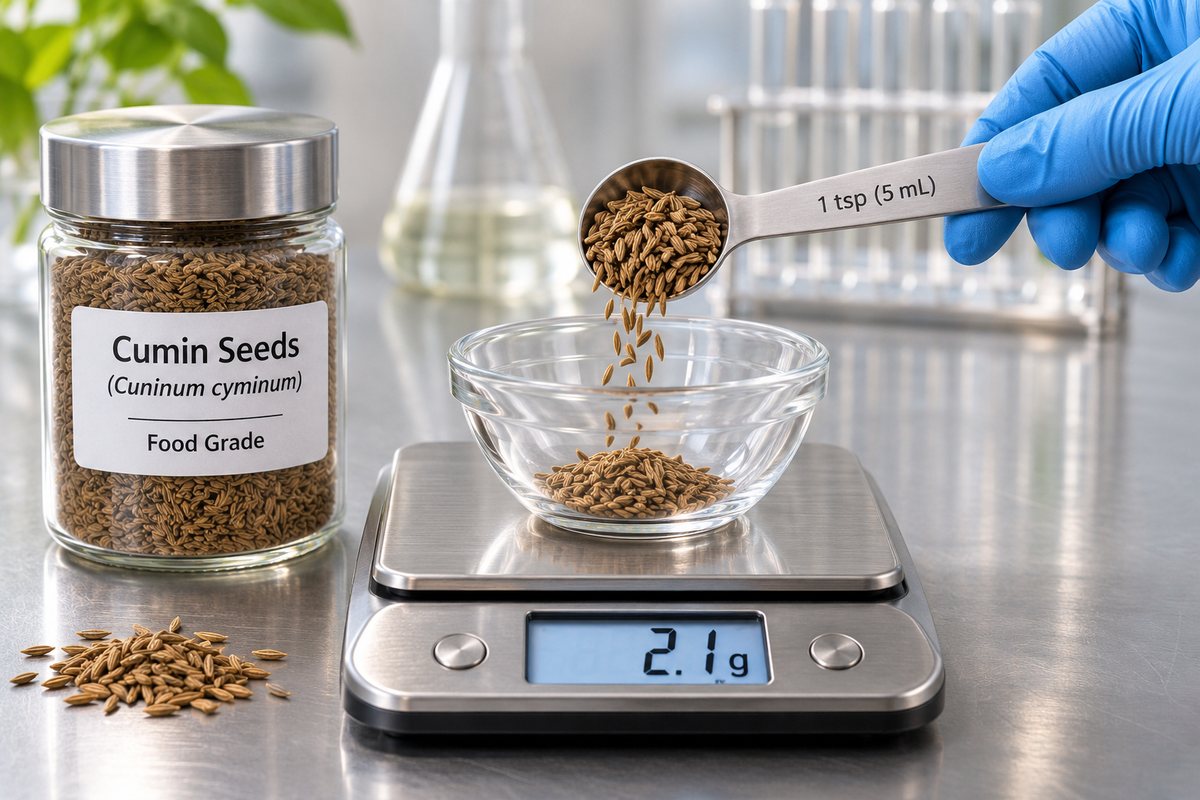
Whole seeds.
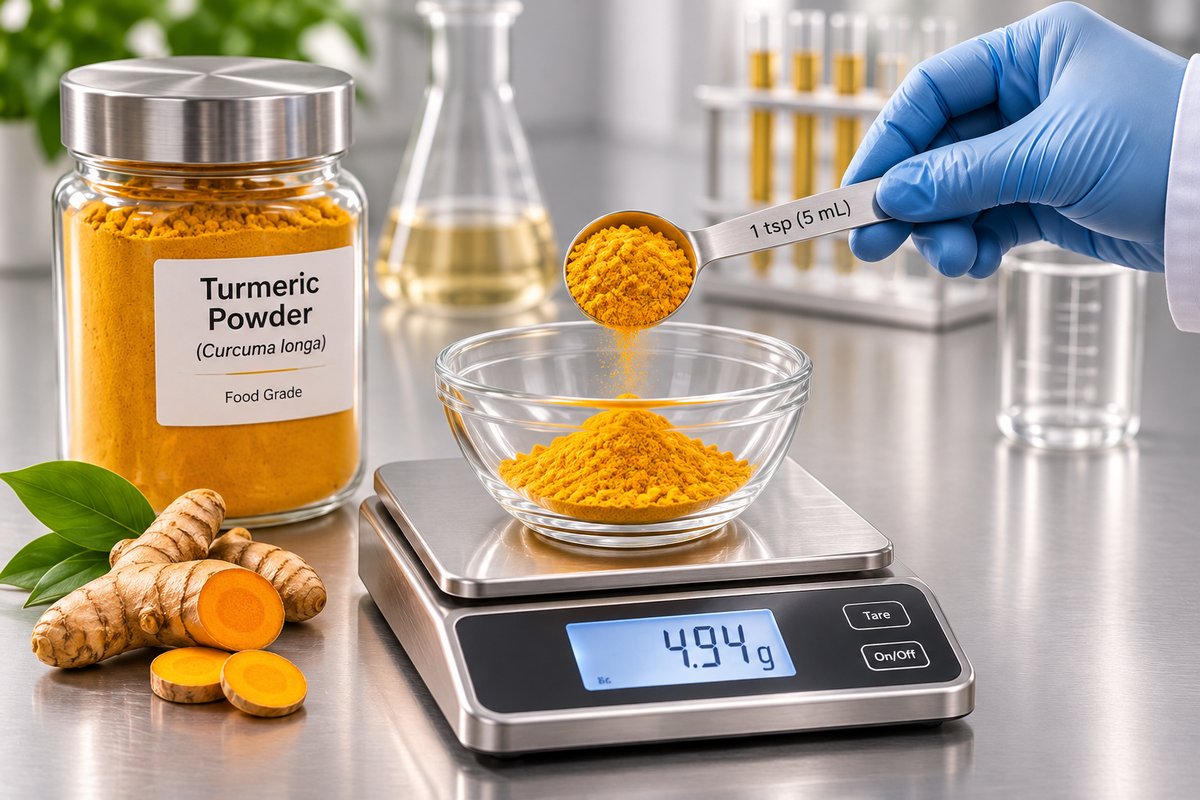
Ground turmeric.
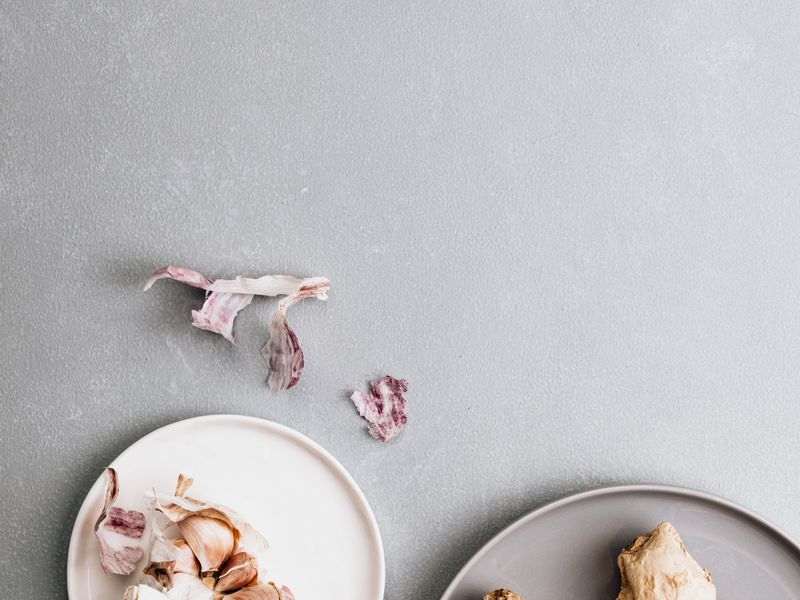
Fresh paste or store-bought.
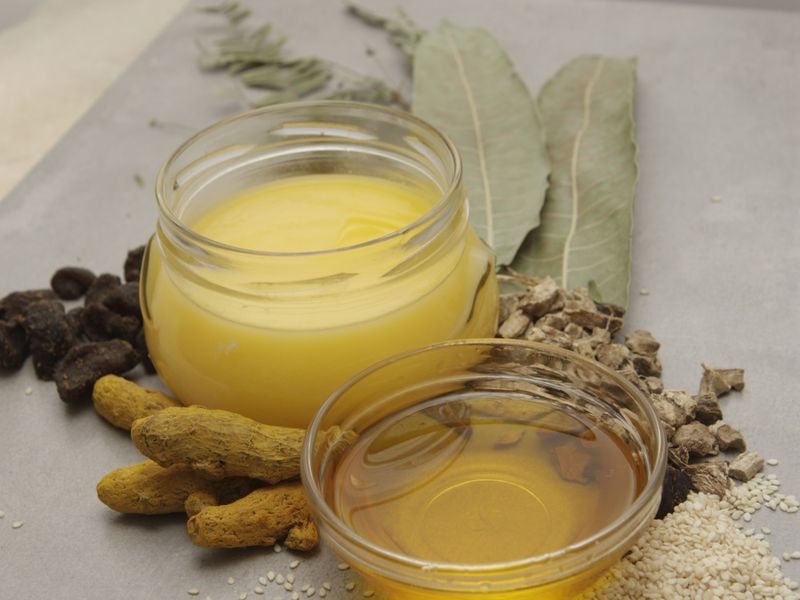
Clarified butter.
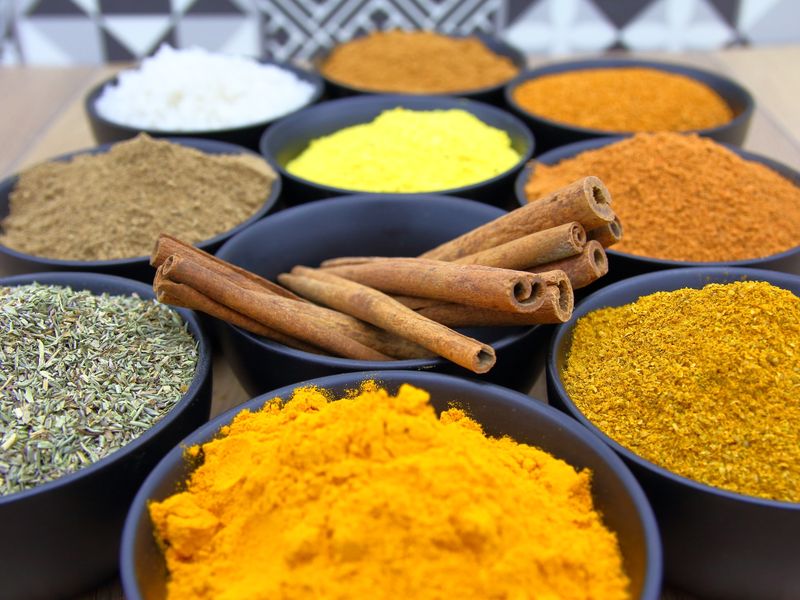
A ground warm spice blend.
Grow it yourself: Tomatoes, Green chilies, Cilantro (dhania), Garlic, Ginger
Restaurant cooks do these things by habit. Here’s what each step is actually doing to the food, so you can cook by understanding instead of guesswork.
Soak the dal for an hour before cooking.
Dried pulses hydrate from the outside in. Soaking lets water reach the center first, so the outside doesn’t turn to mush while the middle is still chalky, and it shortens the cooking time.
Pressure cook on High instead of boiling in an open pot.
Under pressure, water boils at roughly 240–250°F instead of 212°F, so the heat softens the pulses’ cell walls and gelatinizes their starch far faster than an open pot can.
Keep the pot no more than half full, and add a teaspoon of the ghee to the dal.
Pulses release proteins and saponins into the cooking water, and both stabilize foam. Foam can block the steam valve, which is why pressure-cooker makers cap beans and lentils at half full; a little fat helps break the bubbles.
Bloom the cumin and ground spices in hot ghee, not in the dal.
Many spice flavor compounds dissolve in fat rather than water, so frying the spices in ghee extracts and carries far more flavor than stirring them into the dal. Garam masala goes in last because its aromas are volatile and fade with long cooking.
Add the lemon juice just before serving.
Acid brightens the earthy flavor of pulses, but in the pot it slows their softening, which is why it goes in after the dal is cooked.
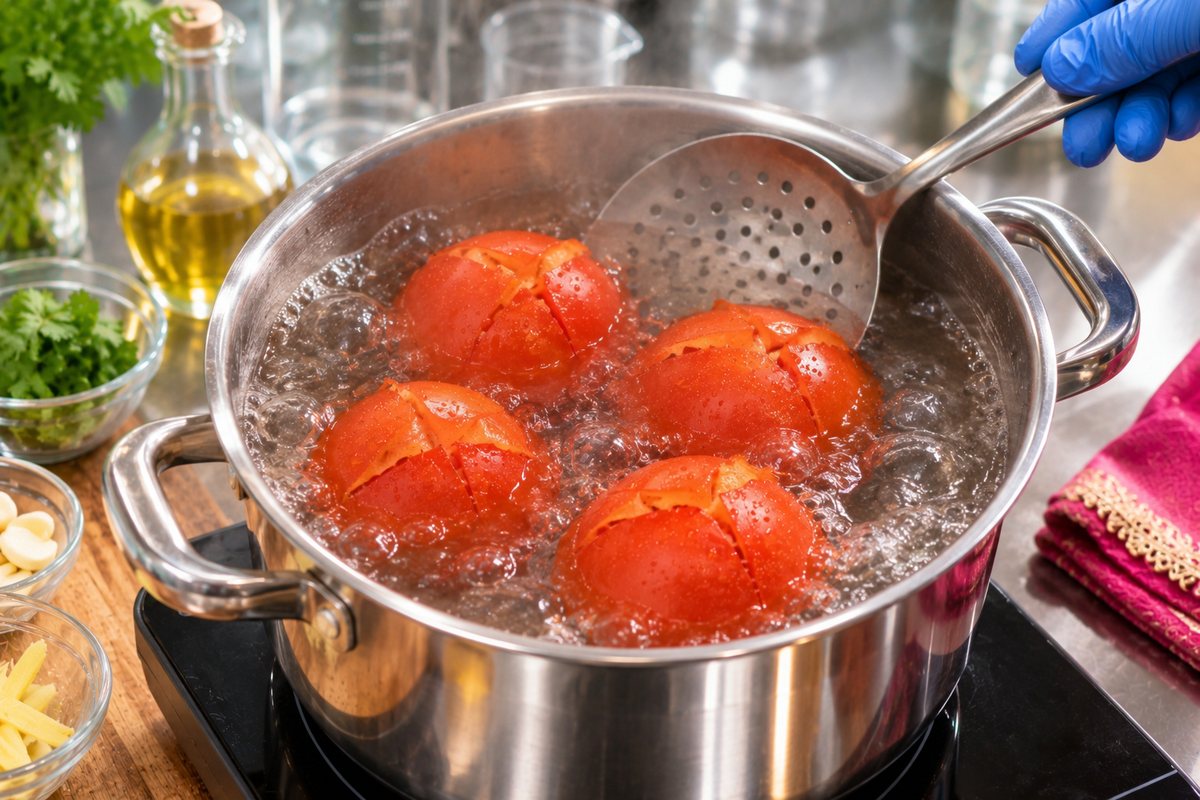
Score, blanch for 30–60 seconds, chill in ice water, and the skins slip right off. Peeled tomatoes cook into a smoother, silkier masala with no chewy flecks of skin.
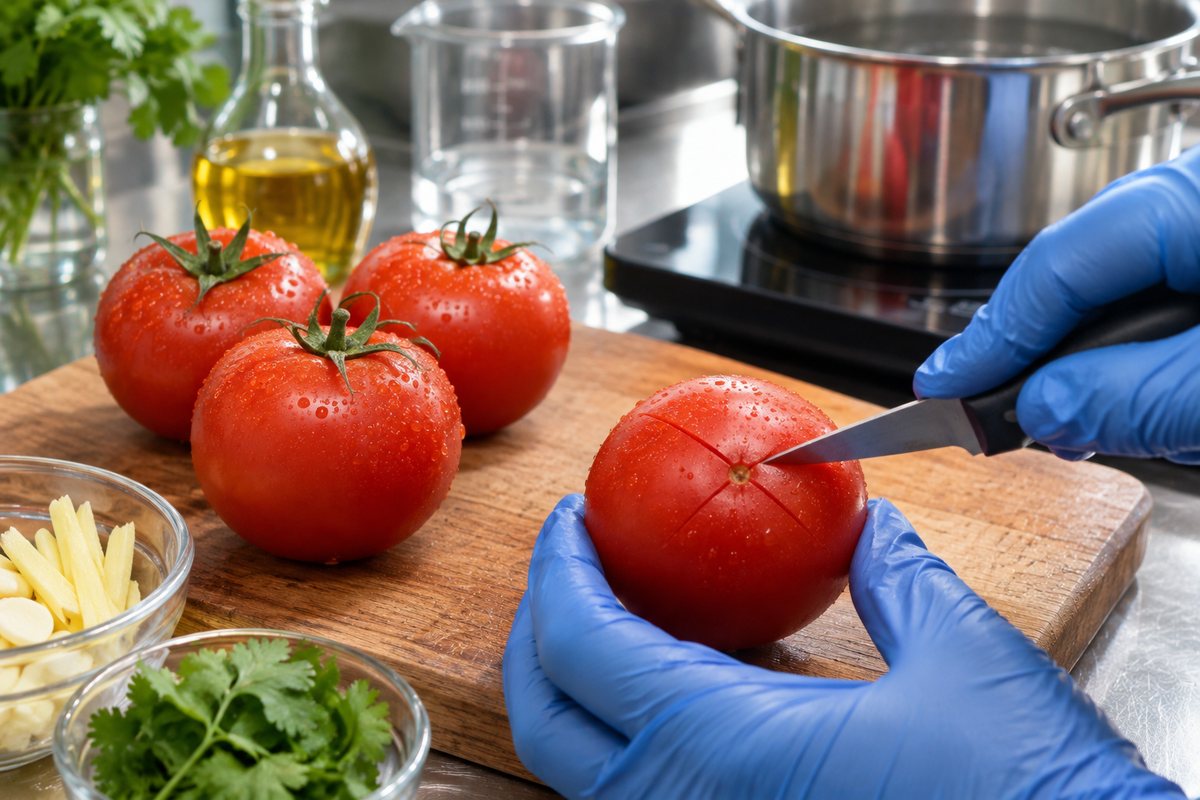
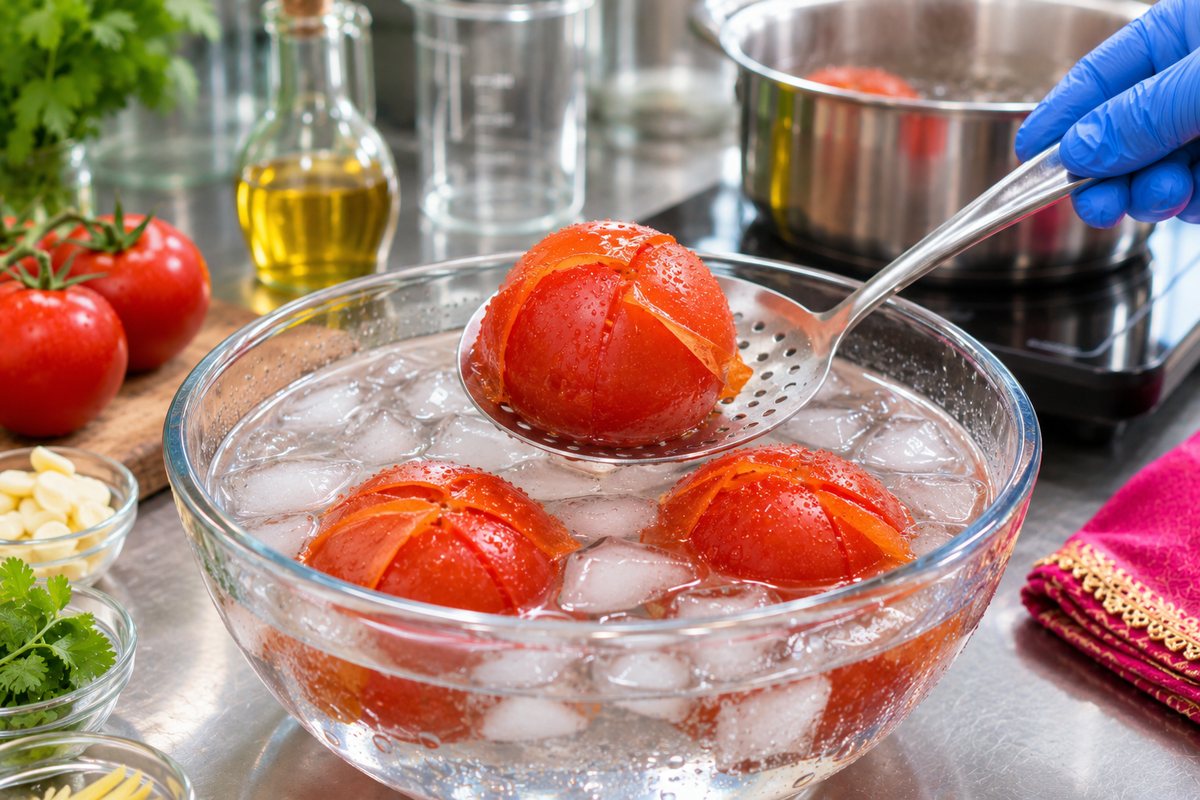
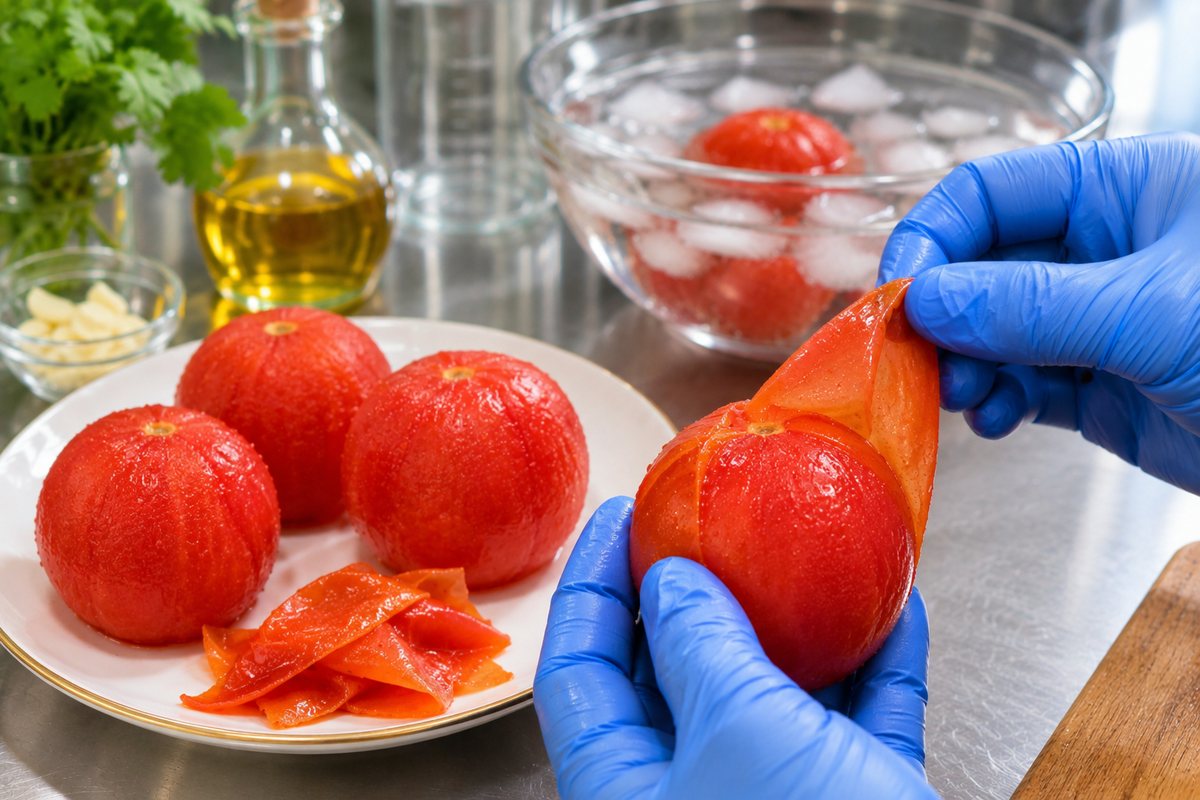
Tomato skin is a tough, waxy layer that doesn’t break down with cooking; in a long-cooked masala it curls into chewy flecks. The skin is also where almost all of a tomato’s flavonoids sit, mainly naringenin chalcone and rutin, the kind of plant compounds that can taste faintly bitter or astringent. Texture is the bigger, better-proven reason, but peeled tomatoes give the smoothest, cleanest-tasting gravy.
A short plunge heats only the outer layer. The heat weakens the pectin that glues the skin to the flesh, and steam forming underneath pushes the skin away, so it splits and curls back at the X while the flesh inside stays raw and firm.
Ice water stops the cooking at once, so the flesh doesn’t turn soft and mushy, and makes the tomatoes cool enough to peel right away. More than about a minute in the boiling water starts to cook the flesh.
Sources: National Center for Home Food Preservation: Put It Up! Boiling Water Canning · Muir et al., Nature Biotechnology (2001): flavonoids in tomato peel
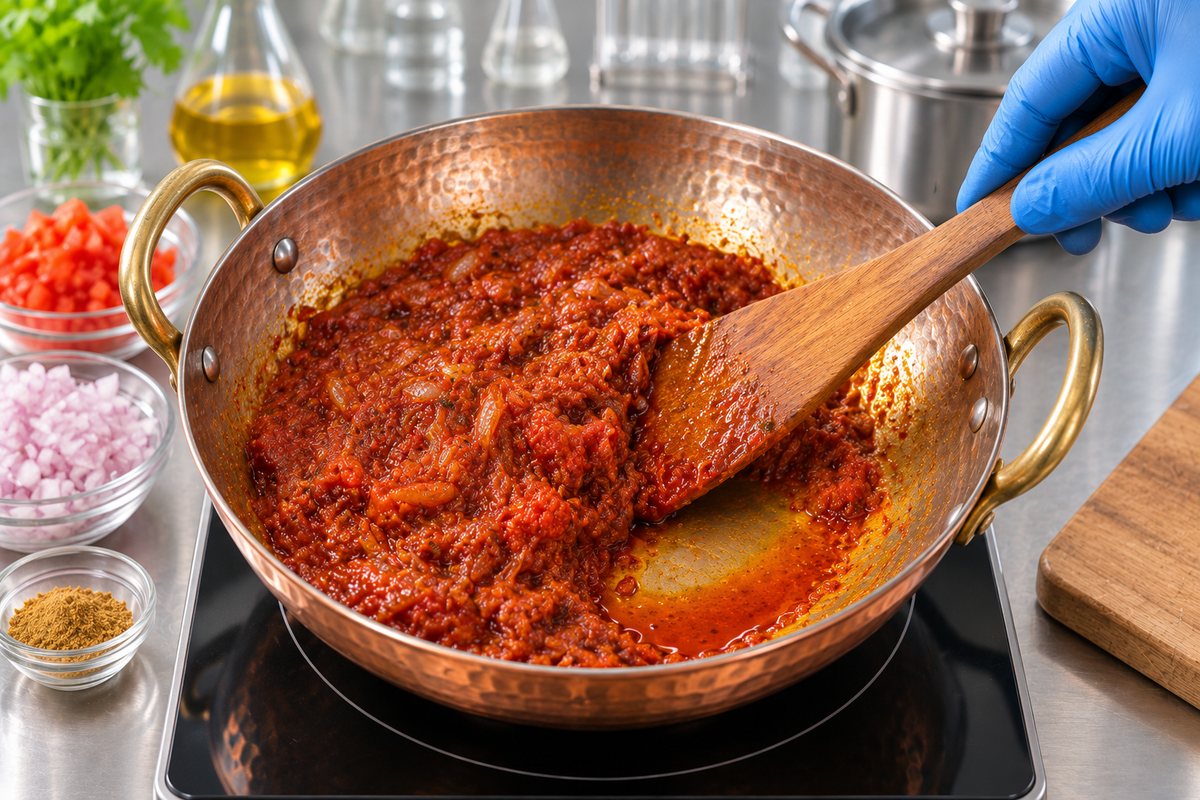
Exact amounts and timings are in the recipe card below.
An everyday dal that’s high in plant protein and fiber.
3.9 g protein per 100 calories. Estimated from the ingredients with USDA FoodData Central values. Roti or rice not included.
Gym-friendly tip: Serve with ¾ cup plain Greek yogurt as raita (about +16 g protein) or stir 100 g cubed paneer into the finished dal (about +18 g).
Pulses like chana dal are rich in protein, fiber, folate and iron. The Dietary Guidelines count beans, peas and lentils toward both the protein and vegetable groups.
Iron from plants is absorbed better alongside vitamin C, which the tomato and lemon supply.
Curcumin, turmeric’s golden pigment, is poorly absorbed on its own. It dissolves in fat, and black pepper’s piperine raised its absorption in a small 1998 study. NIH says turmeric’s effects on health in people are still uncertain, so enjoy it for flavor and color rather than as a remedy.
General nutrition information, not medical advice. Numbers marked “estimated” are calculated from the recipe’s ingredients and vary with brands and portions. If you have diabetes, heart or kidney disease, a food allergy, or are pregnant, ask your doctor or a registered dietitian how this dish fits your diet.
Fits these health goals: High blood pressure, Type 2 diabetes and prediabetes, High LDL cholesterol, Iron-deficiency anemia, Celiac disease (gluten-free), Pregnancy, Gout, PCOS (polycystic ovary syndrome), Fatty liver disease (MASLD) (general guidance, not medical advice)
Health sources: Harvard T.H. Chan School of Public Health: Legumes and pulses · NIH Office of Dietary Supplements: Iron · NIH NCCIH: Turmeric · Dietary Guidelines for Americans
See the full ingredient health guide: benefits, traditional roots and the science →
Split Bengal gram: split, skinned desi chickpeas.
It comes from chickpeas, but from the small, dark desi type, split and skinned, not the big white kabuli chickpeas used for chole.
No. Chana dal comes from desi chickpeas; yellow split peas are a different legume that cooks softer and faster.
Old dal and very hard water both slow softening. Pressure cook 5 minutes more.
No, but soaked dal cooks more evenly. Add 5 minutes if you skip it.
Desi restaurant favorites, recreated at home and explained with food science: every recipe is tested in a home kitchen and comes with the why behind each step.
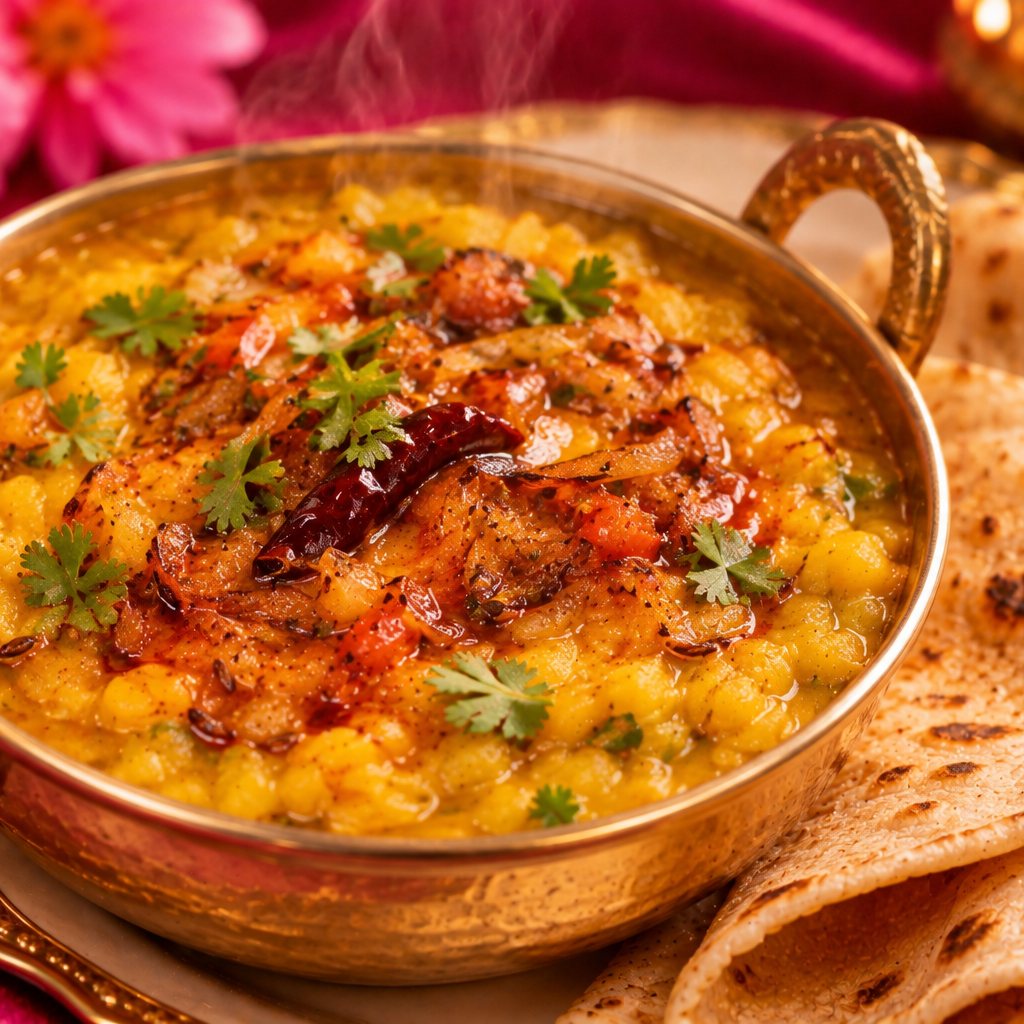
Punjabi chana dal (chholeyan di daal) in the Instant Pot: nutty split chickpeas finished with a cumin, onion, ginger-garlic and tomato tadka. With the food science of soaking, pressure and tadka.
No Instant Pot? Simmer the dal instead.
How much to make, based on 4 people eating it once a day. One batch of this recipe makes 4 servings.
Why only a few days in the fridge? Refrigeration slows bacteria but doesn’t stop them; some, like Listeria, can still grow at fridge temperatures, which is why food-safety agencies set cooked leftovers at 3–4 days. Freezing at 0°F stops growth completely, so frozen portions stay safe indefinitely; the freezer times above are for best taste and texture.
Food-safety guidance: USDA, Leftovers and Food Safety · FoodSafety.gov storage chart