Whole green moong
साबुत मूंगثابت مونگ
sābut mūng
Whole mung beans with the green skin on.
Its job: The dal itself.
Also called Sabut Moong Dal · Hari Moong · Whole Green Gram · साबुत मूंग दाल · ثابت مونگ کی دال
Whole green mung beans pressure-cooked until creamy, partly mashed for body, and finished with a ghee tadka in the classic Indian base order.
Green moong dal is whole mung beans cooked creamy and finished with a ghee tadka. In the Instant Pot, it’s 8 minutes on High if soaked or 18 if not, with about 13 g of protein and 9 g of fiber per serving.
 From the MedRise Food Science kitchenPublished
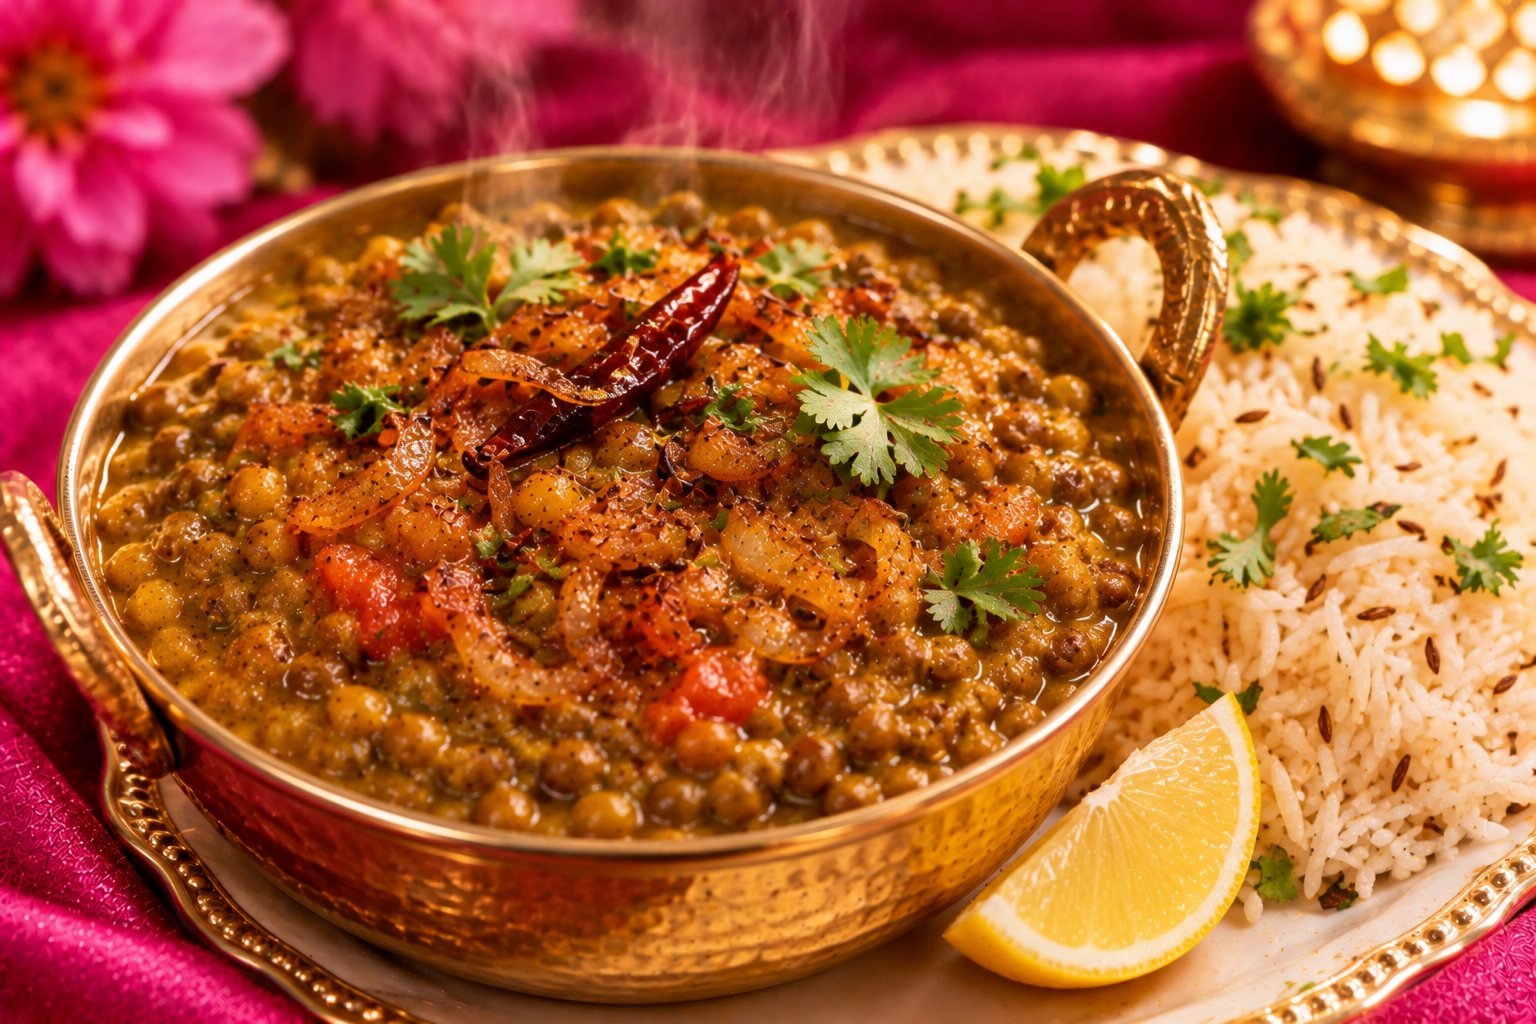
Green moong dal (sabut moong) is whole mung beans, the same beans used for bean sprouts, cooked with their green skins on. It’s earthier and more filling than yellow moong dal, which is the same bean split and skinned.
Whole moong cooks faster than most whole beans. Finished with the classic Indian base as a tadka, it’s an everyday North Indian dal with roti or rice.
The main ingredients, with their English, Hindi and Urdu names.
Whole mung beans with the green skin on.
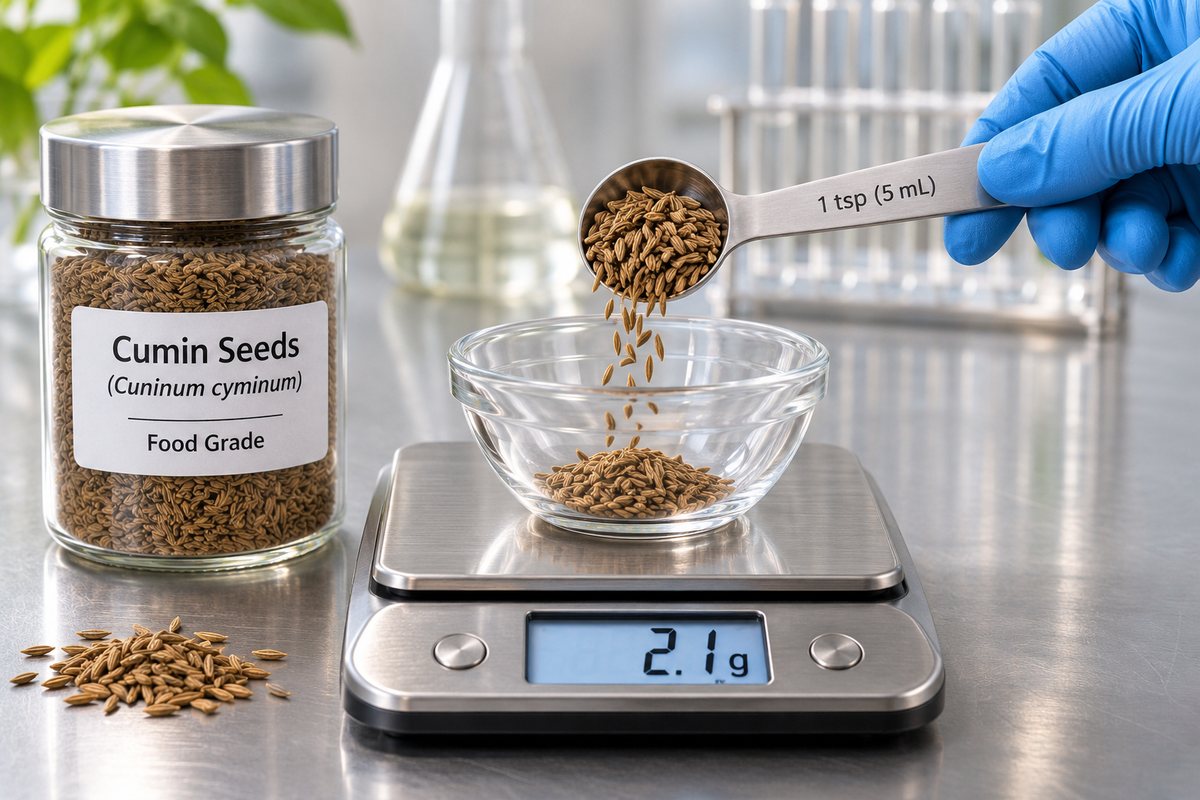
Whole seeds.
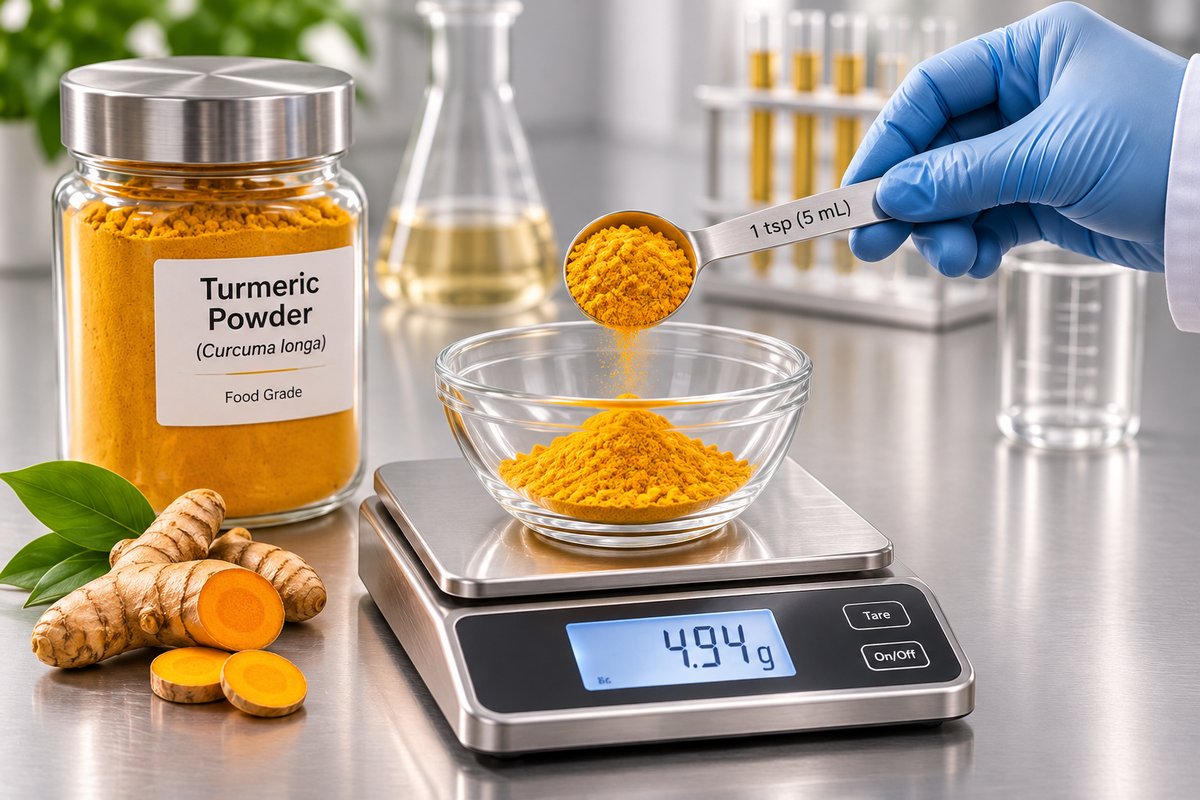
Ground turmeric.
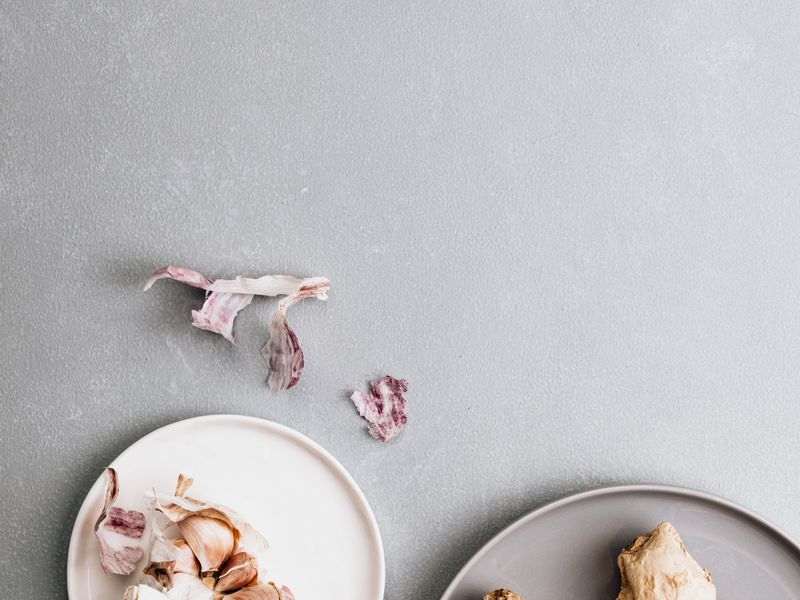
Fresh paste or store-bought.
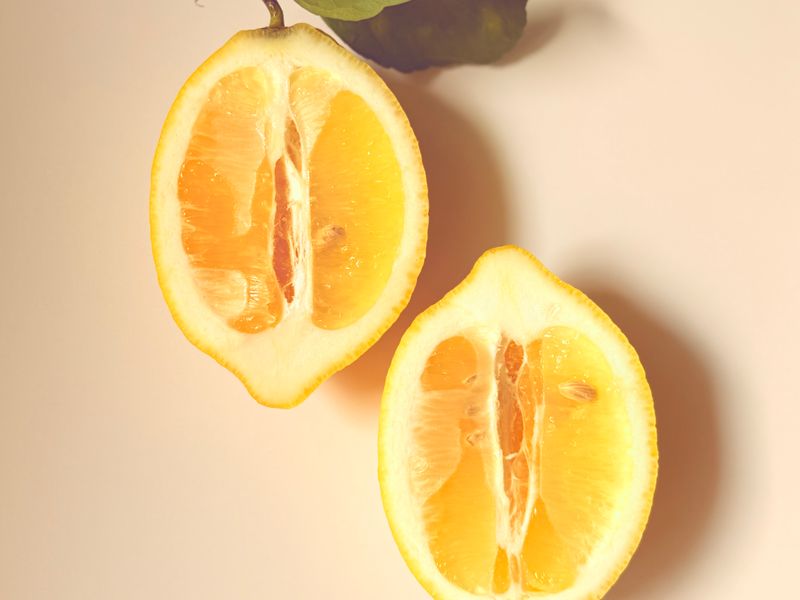
Fresh juice.
Grow it yourself: Moong sprouts, Tomatoes, Green chilies, Cilantro (dhania), Garlic, Ginger
Restaurant cooks do these things by habit. Here’s what each step is actually doing to the food, so you can cook by understanding instead of guesswork.
Soak whole moong if you can, and give it more time than split dal.
The green seed coat slows water getting into the bean, so whole moong takes longer than split, skinned dal. Soaking lets it hydrate evenly first. The skin is also where much of the fiber is.
Mash about a quarter of the cooked beans against the side of the pot.
Cooked beans are full of gelatinized starch. Breaking some open releases that starch into the liquid, which thickens it into a creamy dal without any cream.
Pressure cook on High instead of boiling in an open pot.
Under pressure, water boils at roughly 240–250°F instead of 212°F, so the heat softens the pulses’ cell walls and gelatinizes their starch far faster than an open pot can.
Keep the pot no more than half full, and add a teaspoon of the ghee to the dal.
Pulses release proteins and saponins into the cooking water, and both stabilize foam. Foam can block the steam valve, which is why pressure-cooker makers cap beans and lentils at half full; a little fat helps break the bubbles.
Bloom the cumin and ground spices in hot ghee, not in the dal.
Many spice flavor compounds dissolve in fat rather than water, so frying the spices in ghee extracts and carries far more flavor than stirring them into the dal. Garam masala goes in last because its aromas are volatile and fade with long cooking.
Add the lemon juice just before serving.
Acid brightens the earthy flavor of pulses, but in the pot it slows their softening, which is why it goes in after the dal is cooked.
Score, blanch for 30–60 seconds, chill in ice water, and the skins slip right off. Peeled tomatoes cook into a smoother, silkier masala with no chewy flecks of skin.
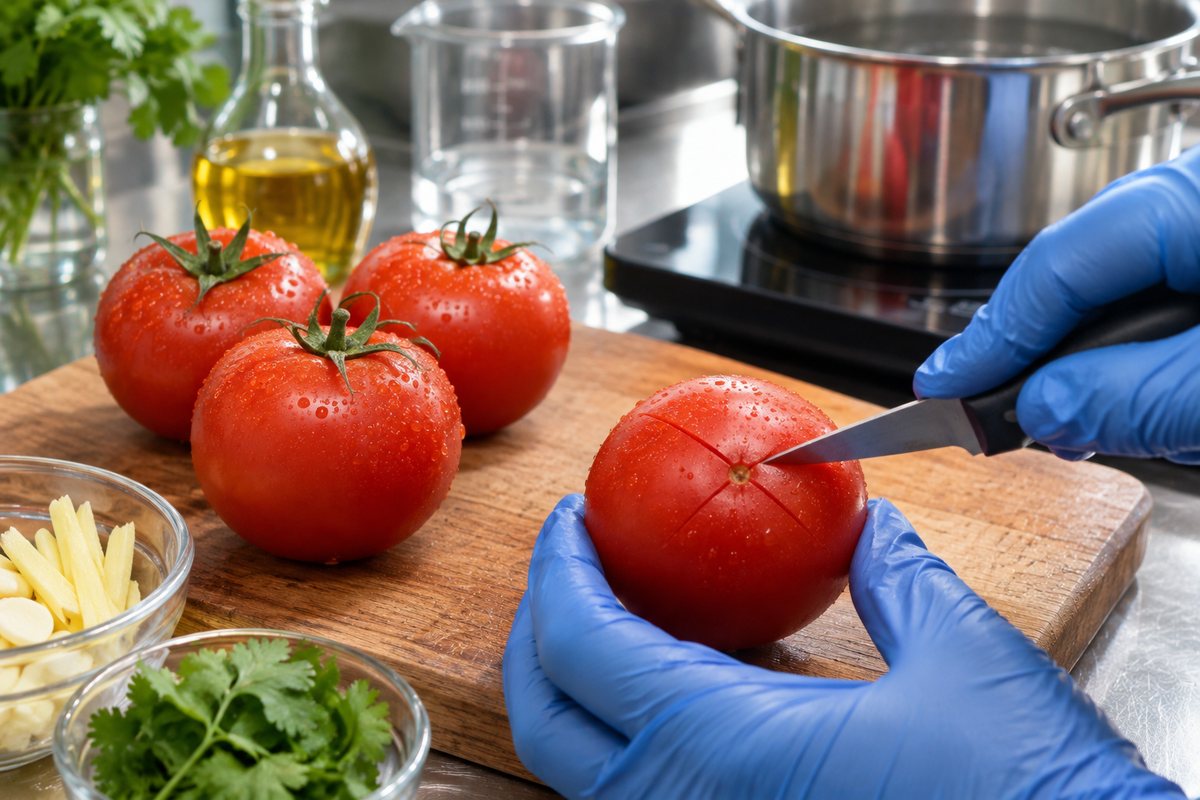
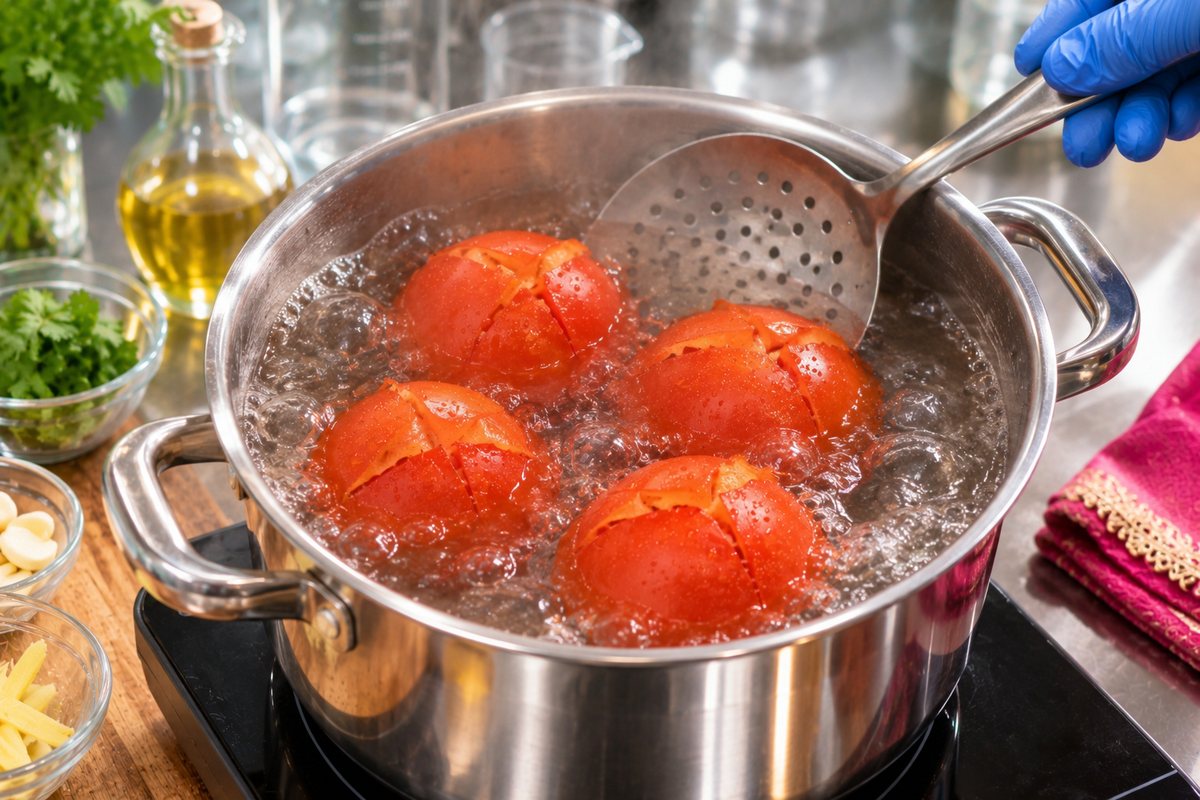
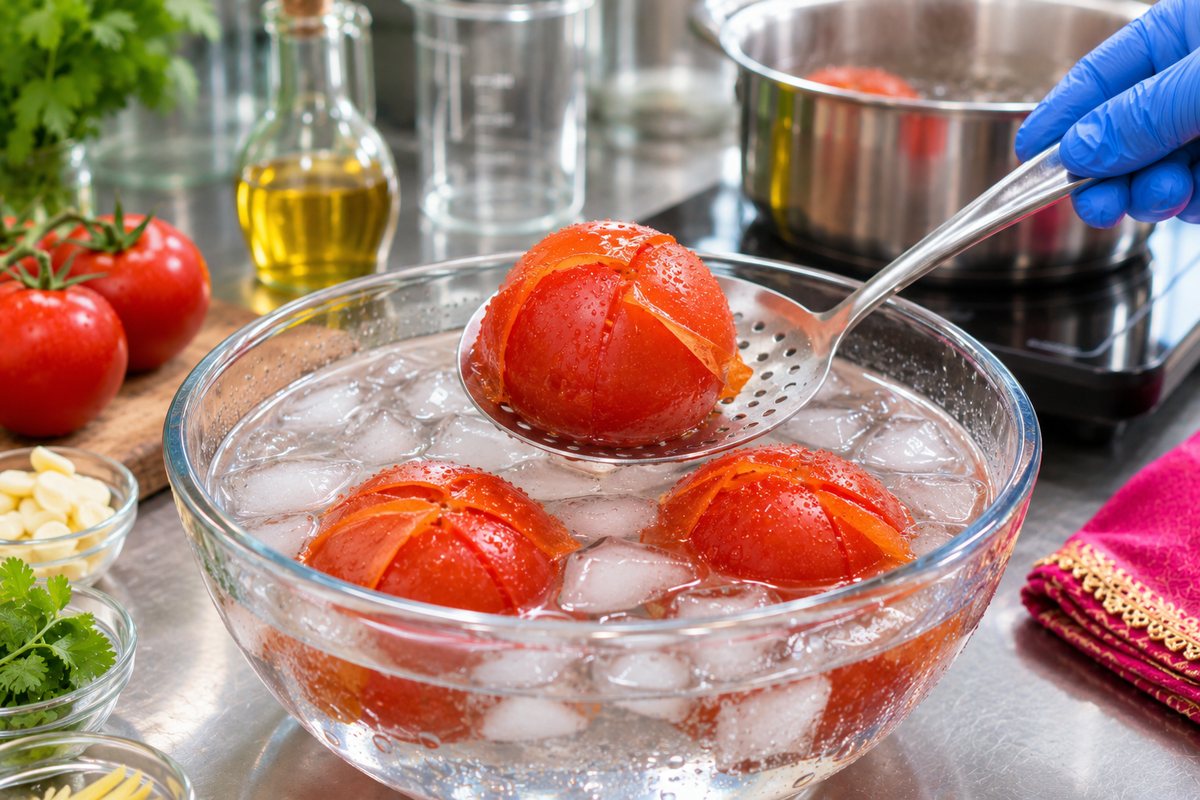
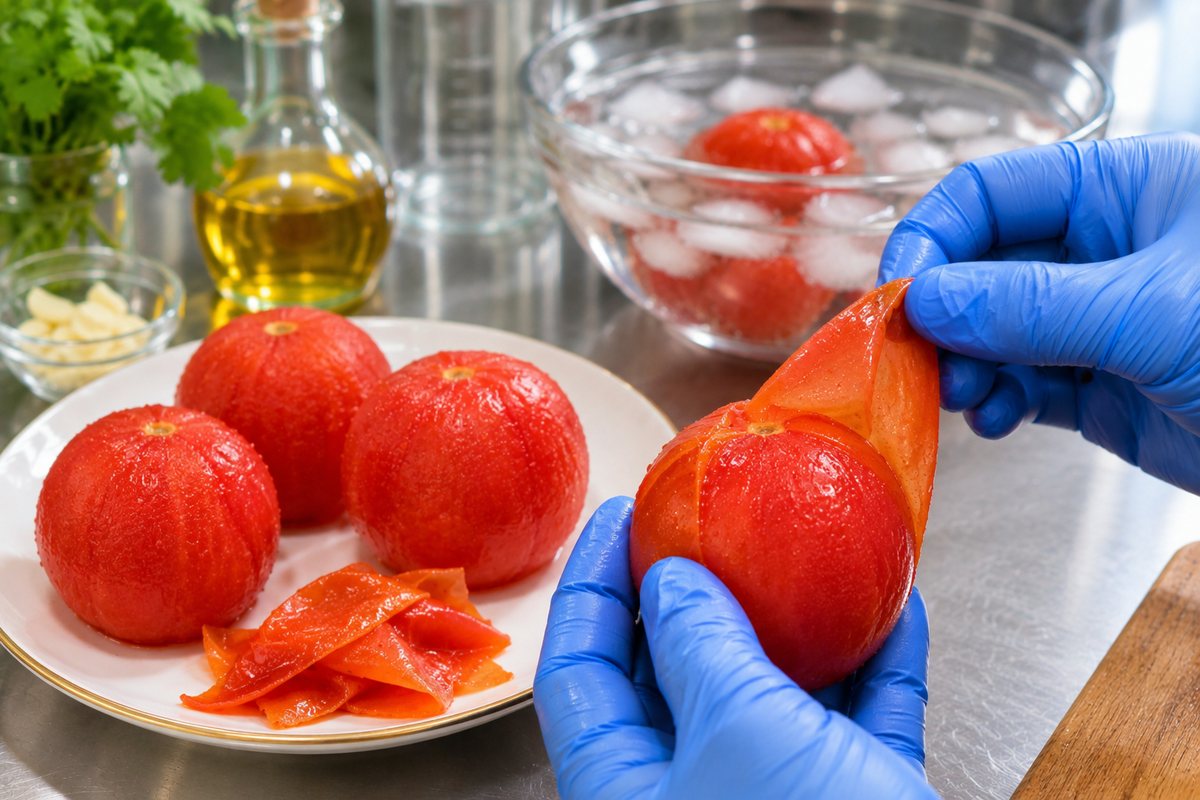
Tomato skin is a tough, waxy layer that doesn’t break down with cooking; in a long-cooked masala it curls into chewy flecks. The skin is also where almost all of a tomato’s flavonoids sit, mainly naringenin chalcone and rutin, the kind of plant compounds that can taste faintly bitter or astringent. Texture is the bigger, better-proven reason, but peeled tomatoes give the smoothest, cleanest-tasting gravy.
A short plunge heats only the outer layer. The heat weakens the pectin that glues the skin to the flesh, and steam forming underneath pushes the skin away, so it splits and curls back at the X while the flesh inside stays raw and firm.
Ice water stops the cooking at once, so the flesh doesn’t turn soft and mushy, and makes the tomatoes cool enough to peel right away. More than about a minute in the boiling water starts to cook the flesh.
Sources: National Center for Home Food Preservation: Put It Up! Boiling Water Canning · Muir et al., Nature Biotechnology (2001): flavonoids in tomato peel
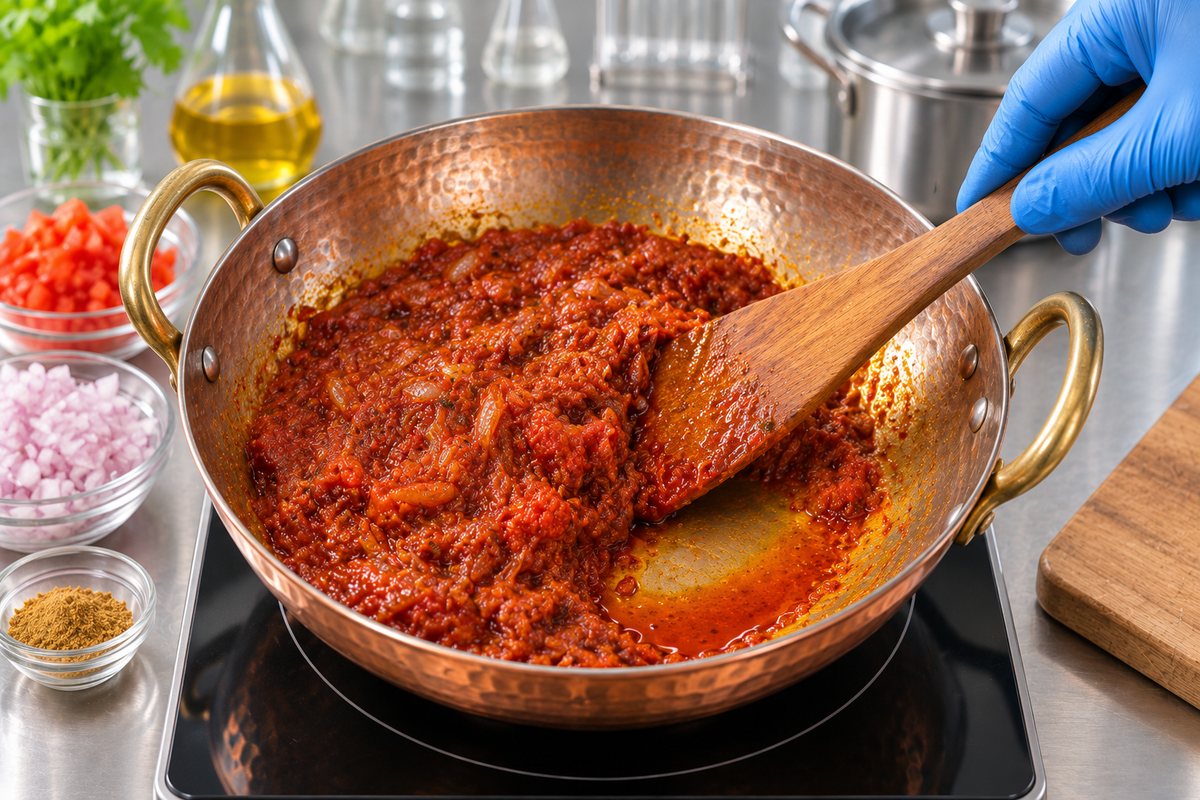
Exact amounts and timings are in the recipe card below.
Whole mung beans, skins and all: a fiber-rich, protein-rich dal.
5.0 g protein per 100 calories. Estimated from the ingredients with USDA FoodData Central values. Roti or rice not included.
Gym-friendly tip: Serve with ¾ cup plain Greek yogurt as raita (about +16 g protein) or stir 100 g cubed paneer into the finished dal (about +18 g).
Keeping the green skins on keeps more of the bean’s fiber than split, skinned moong dal.
Mung beans are a good source of protein, folate and iron; the lemon’s vitamin C helps your body absorb the iron.
General nutrition information, not medical advice. Numbers marked “estimated” are calculated from the recipe’s ingredients and vary with brands and portions. If you have diabetes, heart or kidney disease, a food allergy, or are pregnant, ask your doctor or a registered dietitian how this dish fits your diet.
Fits these health goals: High blood pressure, Type 2 diabetes and prediabetes, Iron-deficiency anemia, Constipation and gut health, Acid reflux (GERD), Celiac disease (gluten-free), Pregnancy, Gout, PCOS (polycystic ovary syndrome), Fatty liver disease (MASLD) (general guidance, not medical advice)
Health sources: Harvard T.H. Chan School of Public Health: Legumes and pulses · NIH Office of Dietary Supplements: Iron · Dietary Guidelines for Americans
See the full ingredient health guide: benefits, traditional roots and the science →
8 minutes on High if soaked, 18 minutes if not, then 10 minutes natural release.
It depends on the stage of kidney disease. Moong is high in potassium and phosphorus, which some kidney diets limit, so ask your nephrologist or renal dietitian.
Yes, the same bean that’s sprouted for bean sprouts.
Simmer it uncovered on Sauté for a few minutes and mash a few more beans.
Yes. Pressure cook 18 minutes instead of 8.
Desi restaurant favorites, recreated at home and explained with food science: every recipe is tested in a home kitchen and comes with the why behind each step.
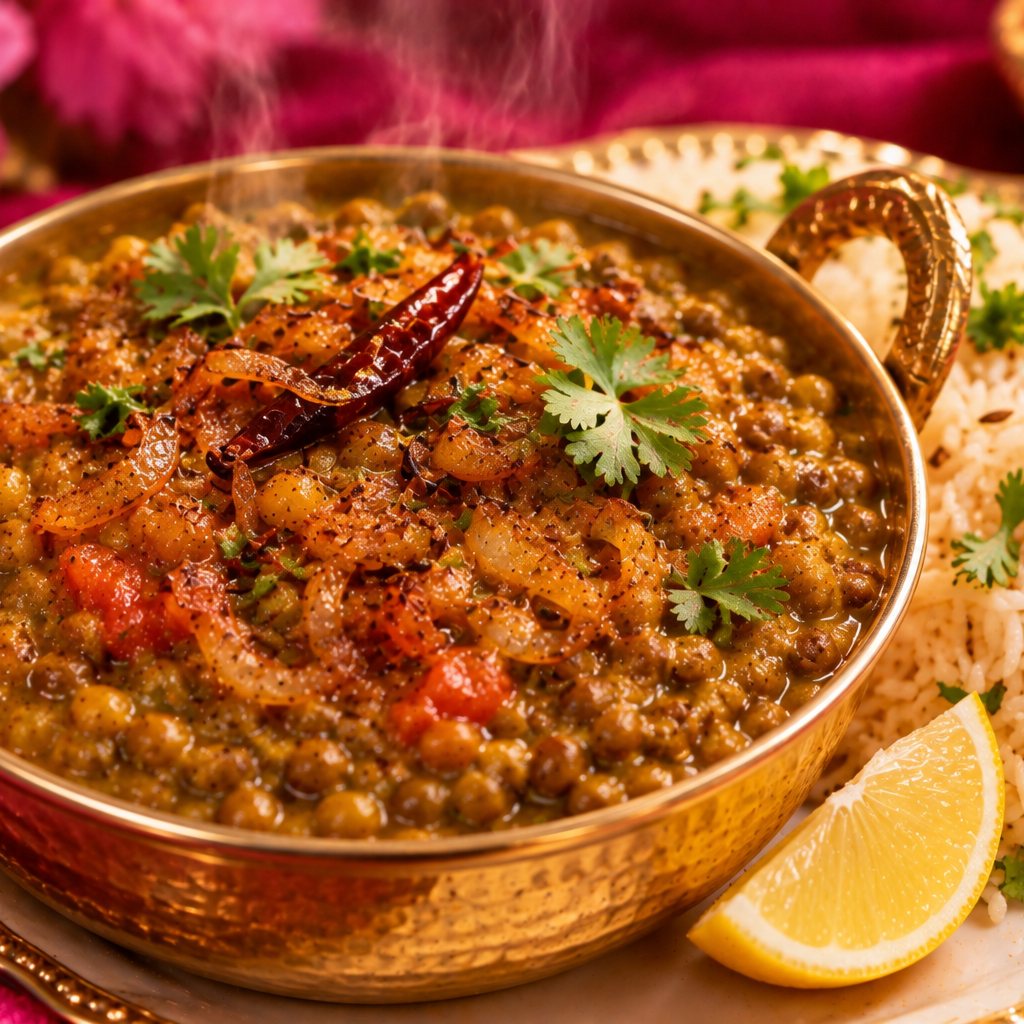
Creamy whole green moong dal in the Instant Pot, finished with a cumin, onion, ginger-garlic and tomato tadka. With the food science of whole pulses, foam and tadka.
No Instant Pot? Simmer the dal instead.
How much to make, based on 4 people eating it once a day. One batch of this recipe makes 4 servings.
Why only a few days in the fridge? Refrigeration slows bacteria but doesn’t stop them; some, like Listeria, can still grow at fridge temperatures, which is why food-safety agencies set cooked leftovers at 3–4 days. Freezing at 0°F stops growth completely, so frozen portions stay safe indefinitely; the freezer times above are for best taste and texture.
Food-safety guidance: USDA, Leftovers and Food Safety · FoodSafety.gov storage chart